
Ready to break into the top 10% of streamers? Whether you’re new to OBS Studio or you’ve been streaming for years, mastering the right tricks can dramatically elevate your content. This OBS guide compiles proven strategies, hands-on tips, and expert insights to help you optimize your stream, grow your audience, and create a truly professional broadcast setup. Let’s dive into the essential techniques every creator should know!
OBS Studio is the backbone of live streaming for creators on Twitch, YouTube, Kick, and beyond. Its open-source flexibility, robust plugin system, and customization options make it the gold standard in the streaming world. But with power comes complexity. The difference between a mediocre and a top-tier stream often comes down to how well you wield OBS’s features. Drawing from years of streaming experience and community feedback, here’s what actually moves the needle.
Scenes and sources are the foundation of every OBS setup. Organize them with clear, descriptive names—think “Gameplay,” “Just Chatting,” or “BRB”—and group related sources together. Use folders for overlays, camera feeds, and alerts. This not only keeps your workflow tidy but also lets you swap layouts and fix issues on the fly. For a practical walkthrough, check out the Essential Guide to OBS Streaming.
Ask any seasoned streamer: bad audio is the fastest way to lose viewers. Use OBS’s built-in filters (like Noise Suppression and Compressor) to clean up your mic input. Test your levels—aim for peaking around -6 dB. If you have multiple sources (music, game, mic), label them and adjust their volumes independently. A well-balanced mix keeps your stream sounding professional, even if you’re just starting out.
Nothing kills the vibe like fumbling for your mouse mid-stream. Set up hotkeys in OBS for scene switching, muting audio, or triggering overlays. This allows you to stay engaged with your chat and gameplay without breaking immersion. Pro tip: Use a dedicated keypad or stream deck if you stream regularly—it’s a game changer for workflow speed.
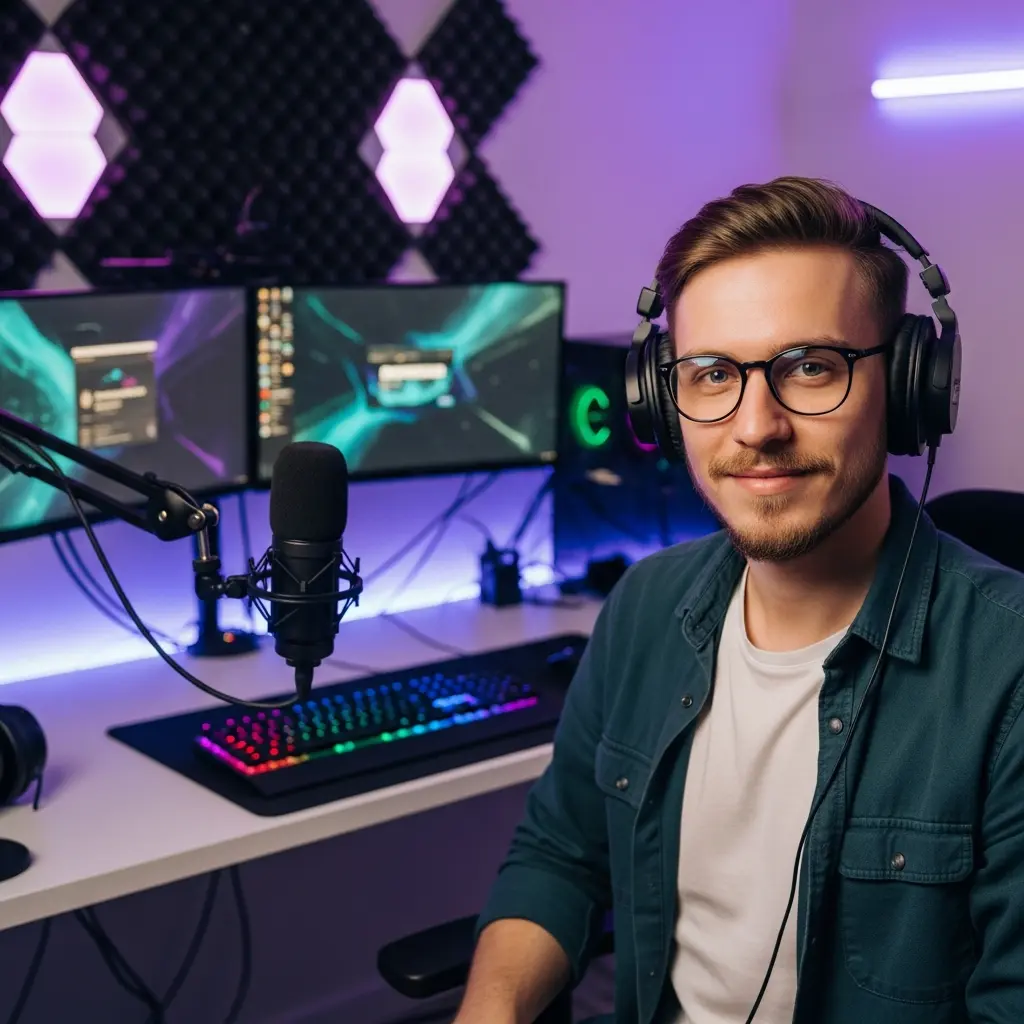
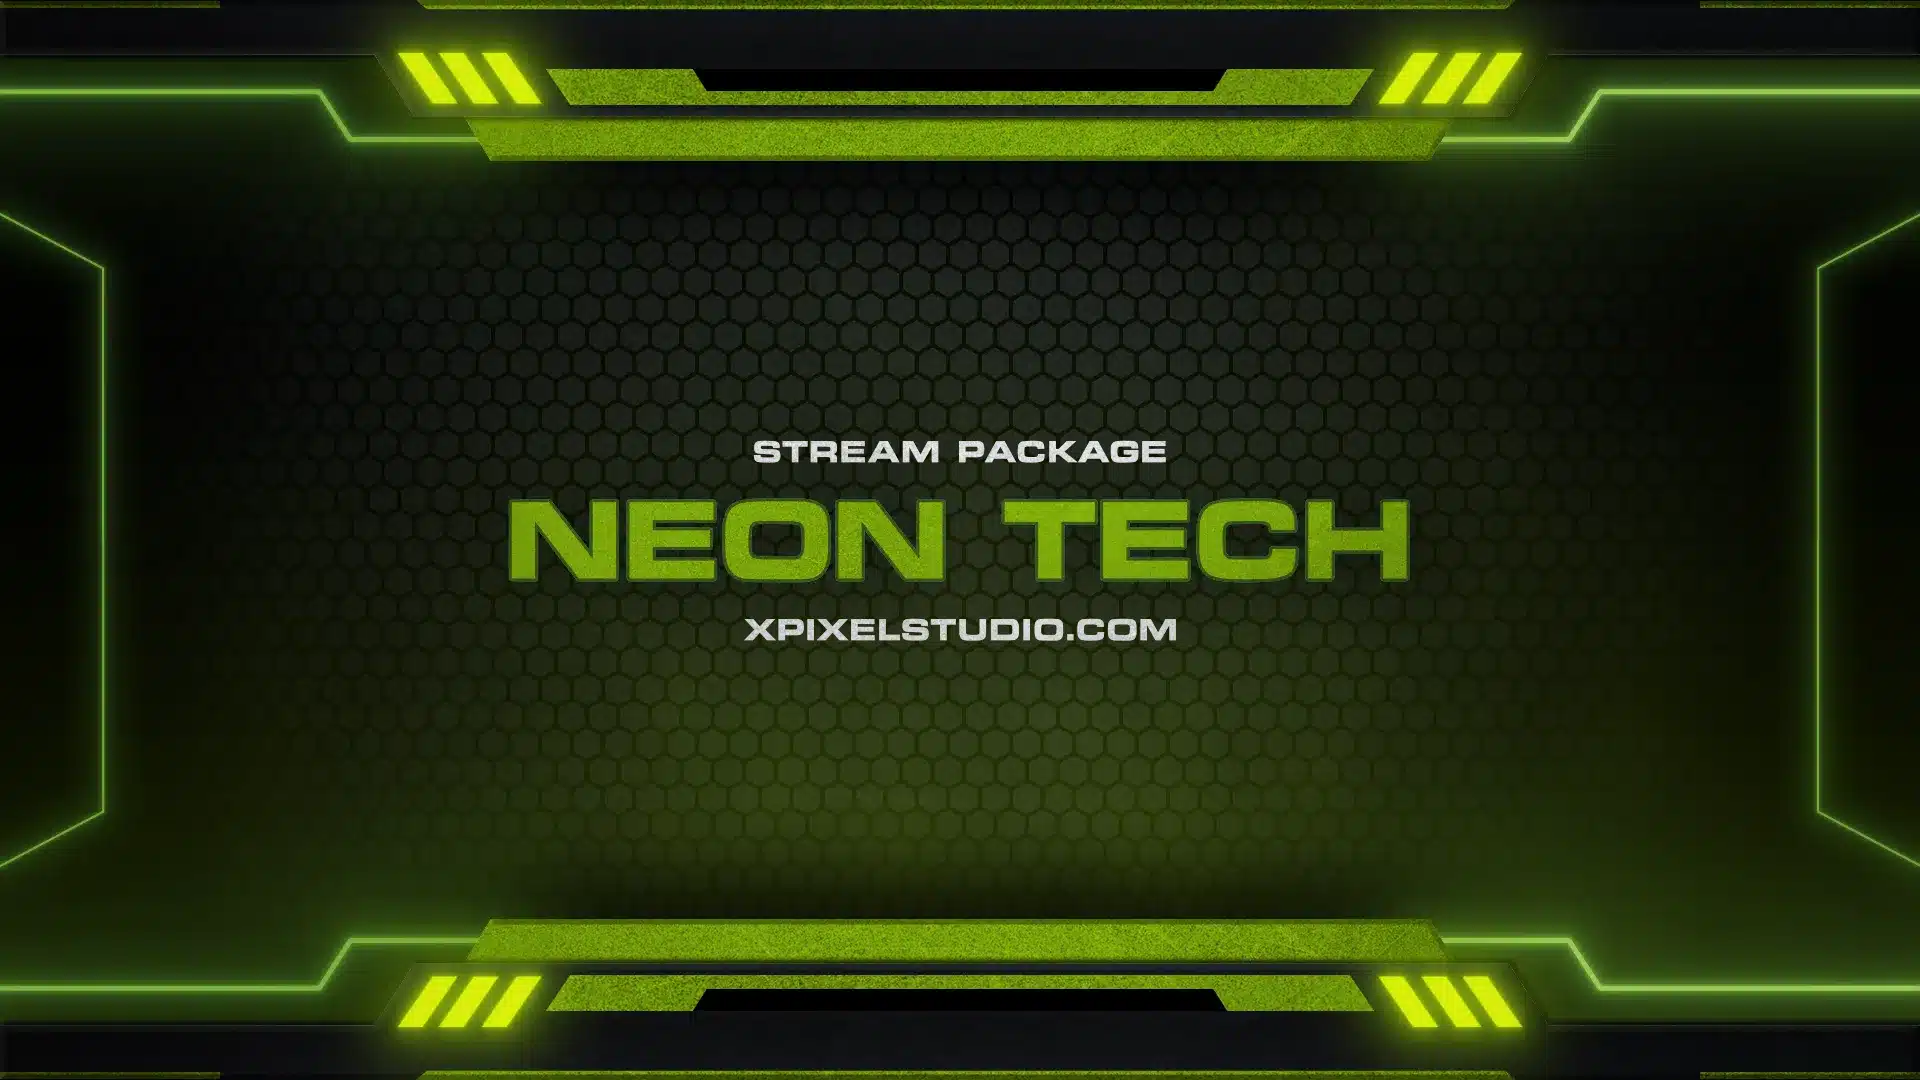
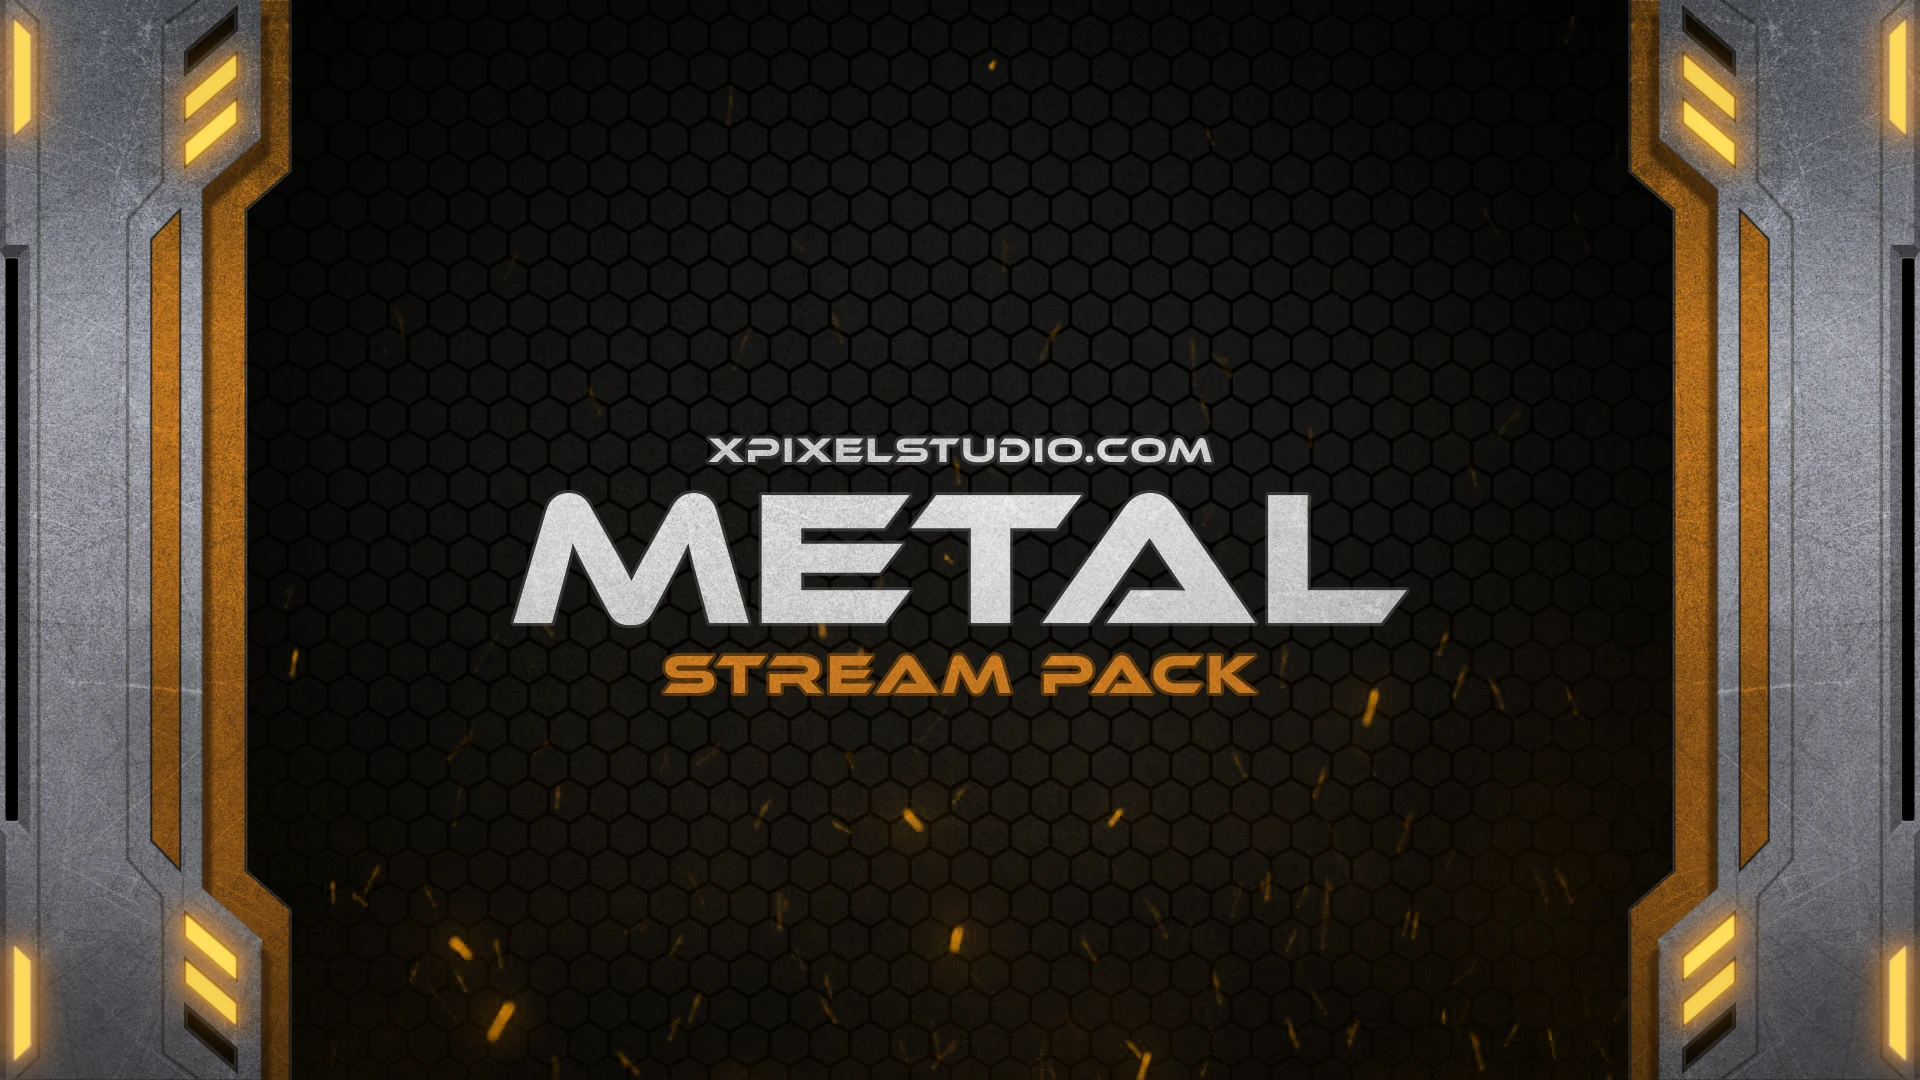
Custom overlays make your stream look polished and help reinforce your personal brand. Whether you’re into cozy pastels or bold neon vibes, overlays can help you stand out. If you’re unsure where to start, the Pastel Chill Desk Stream Pack is a great example of a ready-to-use, OBS-compatible overlay suite. For a hands-on tutorial, see the Step-by-Step Guide: Installing Stream Overlays on OBS and Streamlabs.
Streaming without lag or pixelation comes down to finding the sweet spot for bitrate and encoder settings. Start with these benchmarks:
If your connection is unstable, lower your bitrate or switch to a hardware encoder (like NVENC) for smoother performance. Always test before going live to avoid surprises!
Studio Mode lets you preview changes before pushing them live. This is essential for complex streams with multiple scenes or when adding new sources mid-broadcast. It’s a feature that separates casual streamers from pros—don’t overlook it!
Plugins expand OBS’s capabilities. Popular options include:
Always download plugins from trusted sources and keep them updated. For more plugin ideas, the OBS Studio Official Help Guide is a goldmine.
Engagement tools like follower alerts, chat widgets, and donation notifications keep your audience invested. OBS supports browser sources, so you can easily add these widgets from platforms like Streamlabs or Streamelements. Customize them to fit your brand for a cohesive look.
Before every stream, run a private test. Check audio, video, overlays, and alerts. Use OBS’s stats panel to monitor dropped frames and CPU usage. Post-stream, review your VODs to spot areas for improvement. Consistent iteration is what helps top streamers stay ahead.
OBS Studio evolves quickly, with regular updates bringing new features and performance boosts. Join streaming forums, follow OBS changelogs, and experiment with new tools. For more advanced strategies, the Obs Guide Top 7 – Proven Secrets for Streaming Success offers a deeper dive.
OBS Studio is a free, open-source software for live streaming and recording. Streamers love it for its flexibility, plugin ecosystem, and cross-platform support.
You can add overlays by creating a new image or browser source in your scenes. For step-by-step help, follow the Step-by-Step Guide: Installing Stream Overlays on OBS and Streamlabs.
For 720p at 60fps, use 3,500–5,000 Kbps. For 1080p at 60fps, aim for 6,000–8,000 Kbps. Adjust based on your internet speed and platform requirements.
Yes, as long as you download plugins from official or trusted sources. Always keep OBS and plugins updated for stability and security.
Invest in cohesive overlays, balance your audio, and organize your scenes. Even a simple, well-designed package like the Pastel Chill Desk Stream Pack can make a big difference.
Mastering OBS Studio isn’t about knowing every setting—it’s about applying the right tricks, staying organized, and always learning. Whether you’re streaming for fun or aiming for the top 10%, these proven techniques will help you stand out. Ready to give your channel a visual upgrade? Explore stream overlay packs designed for OBS and see just how easy it is to look like a pro from your very next broadcast!
Receive an additional 30% discount for your first order by signing up through email!