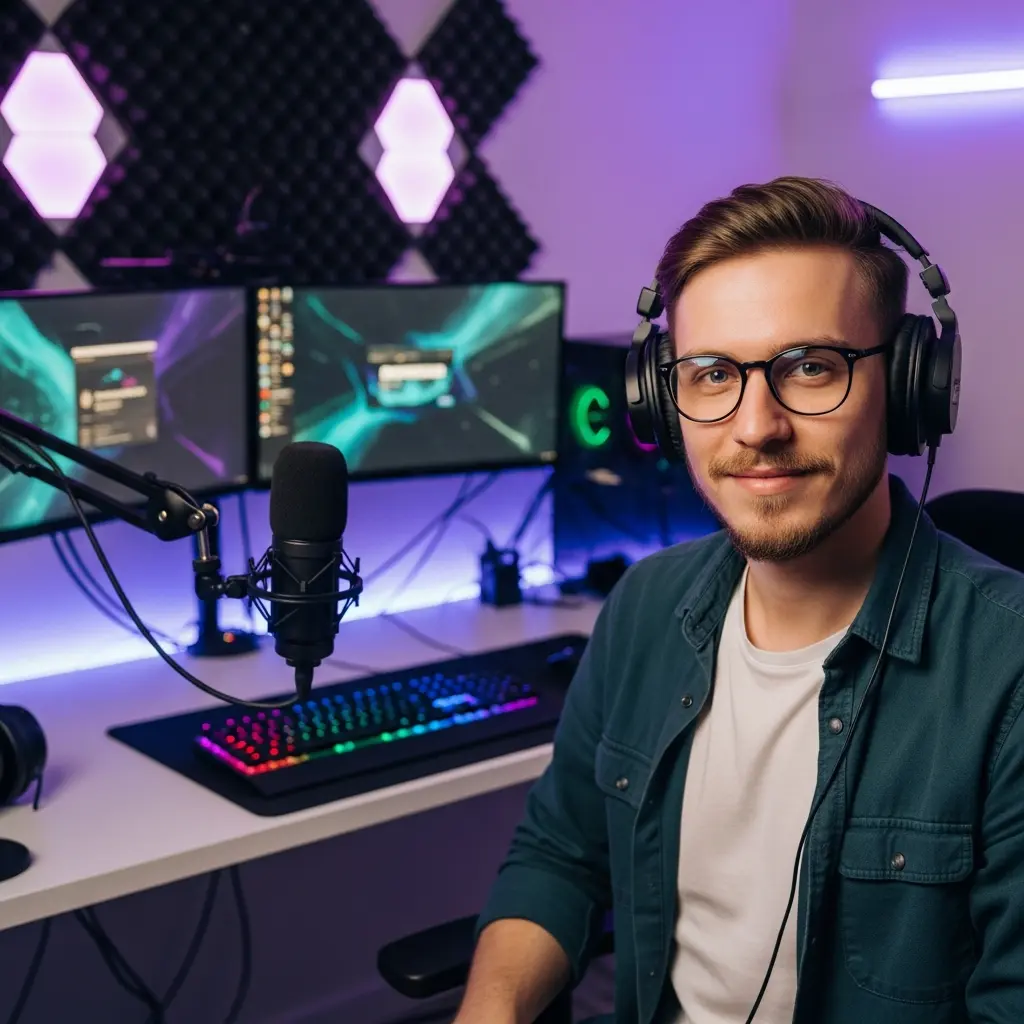

Twitch emotes are more than just cute little icons—they’re a powerful way to express personality, build community, and make your streams stand out. When your viewers can spam unique emotes during exciting moments, it creates a fun and memorable experience.
Whether you’re a Twitch Affiliate, Partner, or just starting out, setting up emotes on your channel is surprisingly simple. In this tutorial, we’ll walk you through every step on how to upload and setup Twitch emotes—even if you’ve never done it before.
To start setting up your emotes, log in to your Twitch account and head to the Creator Dashboard.
📝 Note: If you don’t see this menu, make sure your account is at least an Affiliate level. Only Affiliates and Partners can upload custom emotes.
Once you’re in the Emotes section, click “Upload Emote”.
Make sure your file meets these Twitch requirements:
You can drag and drop the file or select it manually from your computer.
💡 Pro Tip: Use clean, high-resolution files so your emotes look sharp in chat.
After uploading, you’ll need to name your emote.
This name will be the code that your viewers type in the chat to display the emote.
For example:
📝 Choose short, easy-to-remember names to make it fun and simple for your viewers.
When everything looks good, click “Save”.
Your emote will now go through Twitch’s review process.
You’ll see the emote’s status as Pending, and once approved, it will switch to Active.
The final step is to test it directly on your channel:
Encourage your viewers to use the emote during your next live stream to boost interaction and engagement.
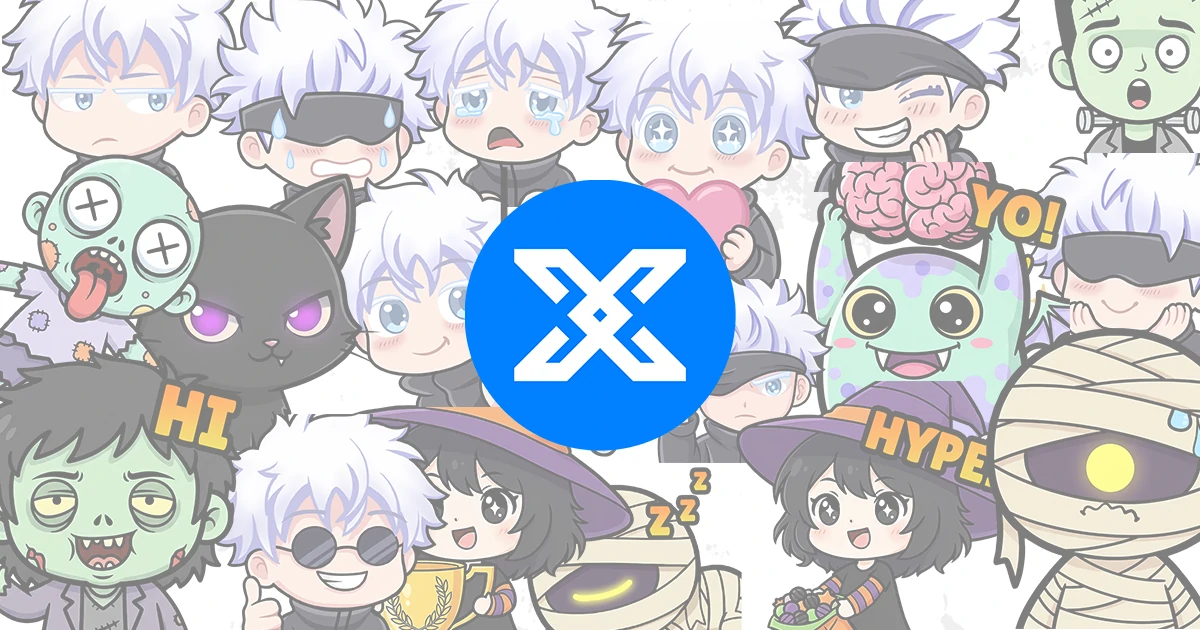
If you don’t have your own emotes yet, you can browse and download premium emotes packs from our shop to give your channel a unique and professional touch.
👉 Explore Emotes on Xpixel Studio
All of our emotes are high-quality, ready to upload, and designed to help you stand out as a streamer.
Setting up Twitch emotes is one of the easiest and most impactful ways to build your streaming brand. In just a few minutes, you can turn your chat into a lively, interactive space where your community truly shines.
Whether you design your own or grab one from Xpixel Studio, great emotes help create unforgettable streaming moments.
✨ Ready to make your chat more expressive?
👉 Get your Twitch Emotes here
Receive an additional 30% discount for your first order by signing up through email!