OBS Studio
Top OBS Recording 2025: Strategies Every Streamer Must-Know

If you are still treating your live stream and your local recording as the same thing, you are leaving quality on the table. In 2025, the content creation landscape has shifted dramatically. It is no longer enough to simply hit “Go Live” and hope for the best. The smartest creators are building ecosystems where a single gaming session feeds a Twitch stream, a high-quality YouTube VOD, and a dozen vertical clips for TikTok and Instagram Reels.
To execute this workflow, your obs recording settings need to be dialed in perfectly. Streaming requires a constant bitrate (CBR) to satisfy Twitch’s ingest servers, but recording allows you to unleash the full power of your hardware without worrying about internet bandwidth caps. If you are recording with the same settings you use to stream, your YouTube videos likely look pixelated during high-motion scenes, and your audio might be a nightmare to edit later.
This guide dives deep into the strategies every streamer must know to master OBS Studio recording in 2025. We aren’t just talking about basic resolution setups; we are looking at advanced rate controls, multi-track audio separation, and future-proofing your content with newer codecs like AV1. Let’s turn your local recordings into professional-grade assets.
1. Stop Using CBR for Recordings: Embrace CQP
The most common mistake beginners make is checking the “Use Stream Encoder” box in the recording tab. While convenient, this locks your recording to your stream’s bitrate (usually 6,000–8,000 Kbps). For a 1080p 60fps video, 6,000 Kbps is barely passable for slow-paced chatting, but it falls apart completely during fast-paced gameplay.
For local recordings, you should almost always use CQP (Constant Quantization Parameter) if you have an NVIDIA or AMD GPU. CQP doesn’t target a specific bitrate; instead, it targets a specific level of image quality. It allocates more data to complex scenes (like an explosion in a shooter) and less data to simple scenes (like a static menu), ensuring consistent visual fidelity throughout the video.
Recommended CQP Levels
In the Output settings under the Recording tab, set your Rate Control to CQP. You will see a “CQ Level” field. Here is a general breakdown for 2025 standards:
- CQ Level 14–16: Near-lossless quality. Files will be massive. Use this only if you have terabytes of storage and need pristine footage for heavy editing.
- CQ Level 18–22: The sweet spot. This range offers high quality that is visually indistinguishable from the source for most viewers, with manageable file sizes.
- CQ Level 24+: Good for lower-priority recordings or if you are running low on drive space.
If you are looking for a broader overview of how these settings fit into your overall broadcast, check out our Essential Guide to OBS Streaming: Top 7 Strategies Made Simple. It covers the foundational knowledge that supports these advanced recording techniques.
2. The Format Debate: MKV vs. MP4
For years, the golden rule of OBS has been “Never record directly to MP4.” In 2025, this rule still stands, but with a nuance. The problem with MP4 files is that if OBS crashes, your PC loses power, or you get a blue screen, the entire MP4 file becomes corrupt and unreadable. You could lose a 4-hour session instantly.
The Safe Strategy: MKV or Fragmented MP4
The standard strategy is to record in MKV. MKV is a container format that saves data continuously. If your computer crashes 59 minutes into a 60-minute recording, you still have a playable 59-minute file.
However, video editors like Premiere Pro and DaVinci Resolve often don’t support MKV files natively. OBS solves this with a feature called Remux Recordings. You can set OBS to automatically convert your MKV files to MP4 once you hit “Stop Recording” (File > Settings > Advanced > Recording > Automatically remux to mp4).
Alternatively, newer versions of OBS support Fragmented MP4 (.mov) or Hybrid MP4. These formats offer the crash resilience of MKV with better compatibility. However, sticking to the MKV-to-MP4 workflow remains the most battle-tested method for ensuring your data is safe.
3. Multi-Track Audio: The Editor’s Best Friend
Imagine this scenario: You just recorded an incredible gameplay moment. You go to edit it for YouTube, but you realize the game music is too loud, drowning out your voice. Or worse, you received a copyright strike because a licensed song played in the background. If you recorded everything to a single audio track, there is nothing you can do. The audio is “baked” together.
The “Must-Know” strategy for 2025 is Multi-Track Audio Recording. OBS allows you to record up to 6 distinct audio tracks.
How to Set It Up
- Go to Settings > Output > Recording.
- Check the boxes for Audio Tracks 1, 2, 3, and 4.
- Go to your main OBS window, right-click the Audio Mixer, and select Advanced Audio Properties.
- Assign your devices to specific tracks:
- Track 1 (Stream Mix): Check every active audio source. This is your “master” track for quick viewing.
- Track 2 (Mic): Check ONLY your microphone.
- Track 3 (Game): Check ONLY your game audio or desktop audio.
- Track 4 (Discord/Chat): Check ONLY your VoIP source.
When you drag this video file into your editing software, you will see four separate audio layers. You can mute the music, boost your voice, or cut out your teammates’ chatter entirely. This level of control is what separates amateur clips from professional content.
4. Visual Consistency and Overlays
Your recording quality isn’t just about bitrates; it’s about the visual composition. If your stream layout is cluttered with alerts, chat boxes, and donation tickers, your recorded VODs might look dated or messy on YouTube. Viewers watching a VOD don’t need to see a “Recent Follower” alert from three weeks ago.
Advanced streamers use the Source Record Plugin or dedicated vertical scenes to record a clean feed of gameplay alongside the stream feed. However, if you want a cohesive look that works for both live and recorded content, you need a polished aesthetic that isn’t too “noisy.”
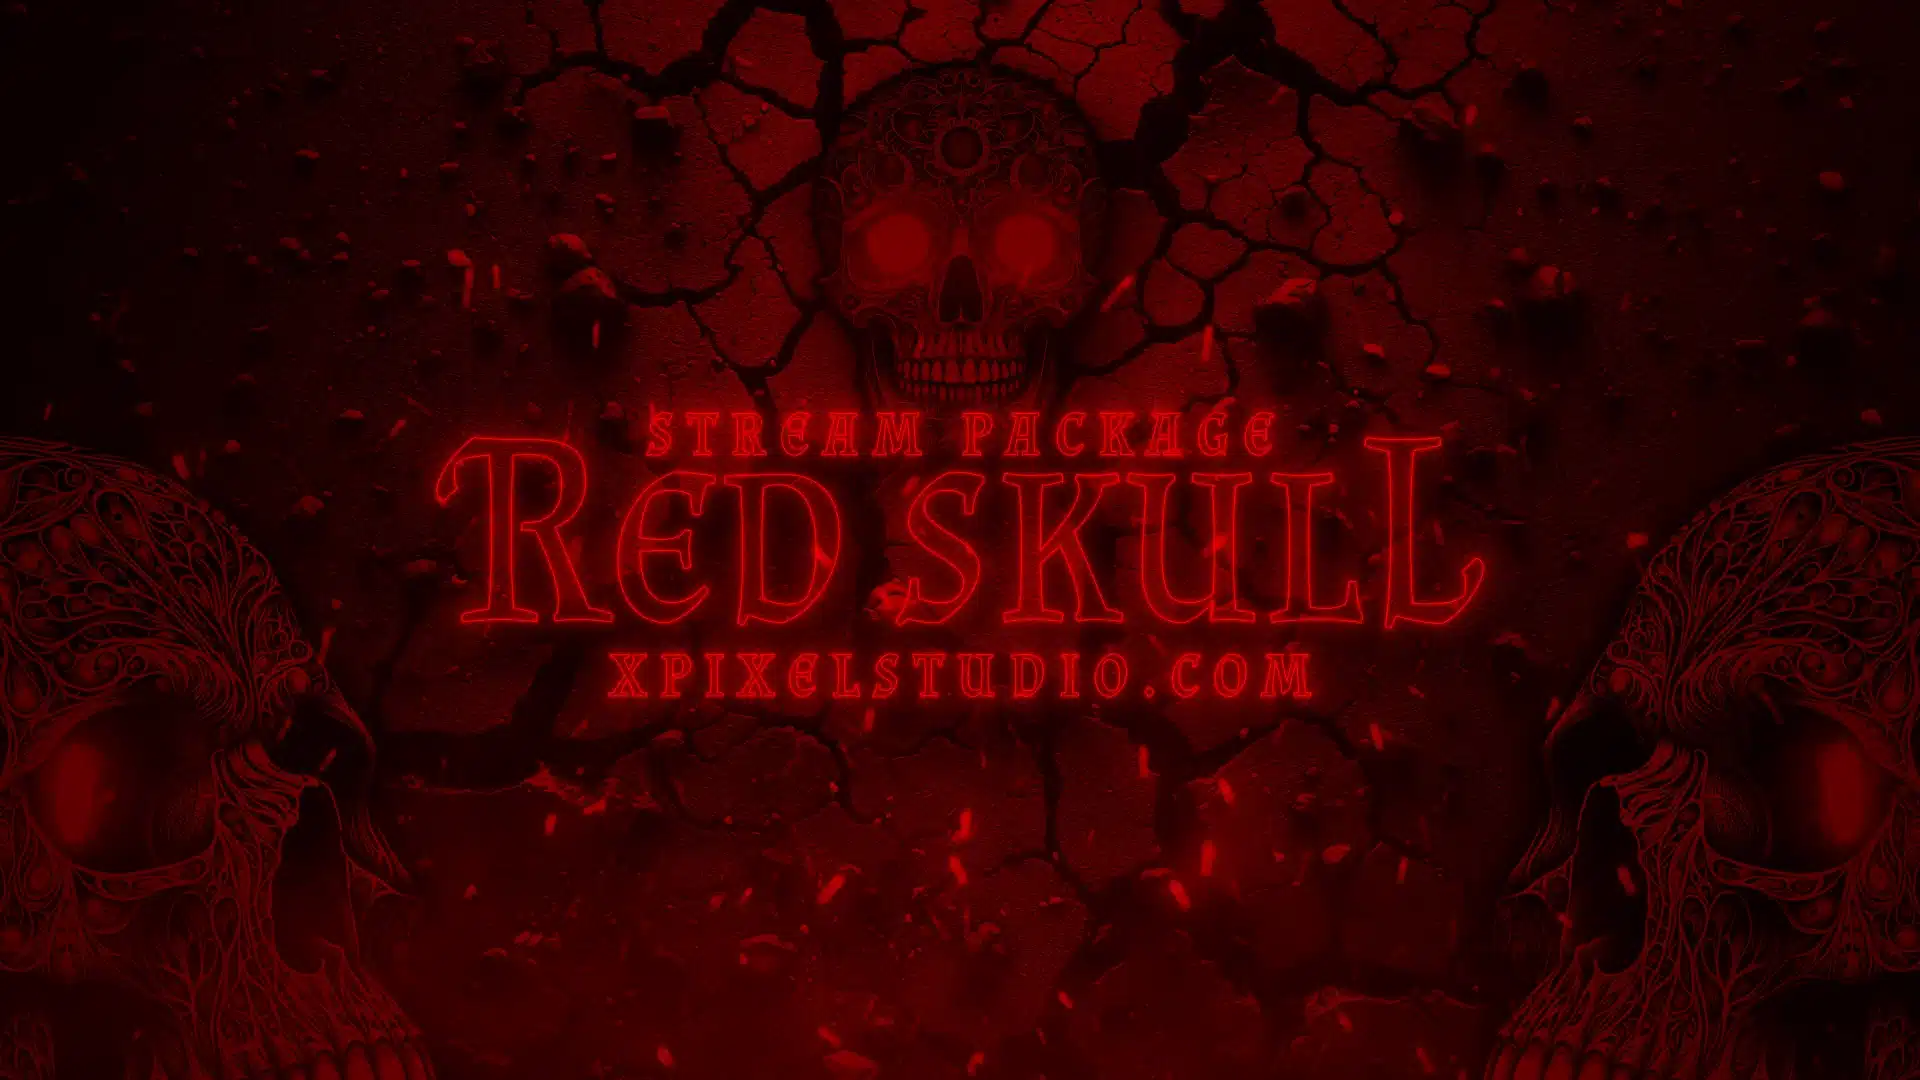
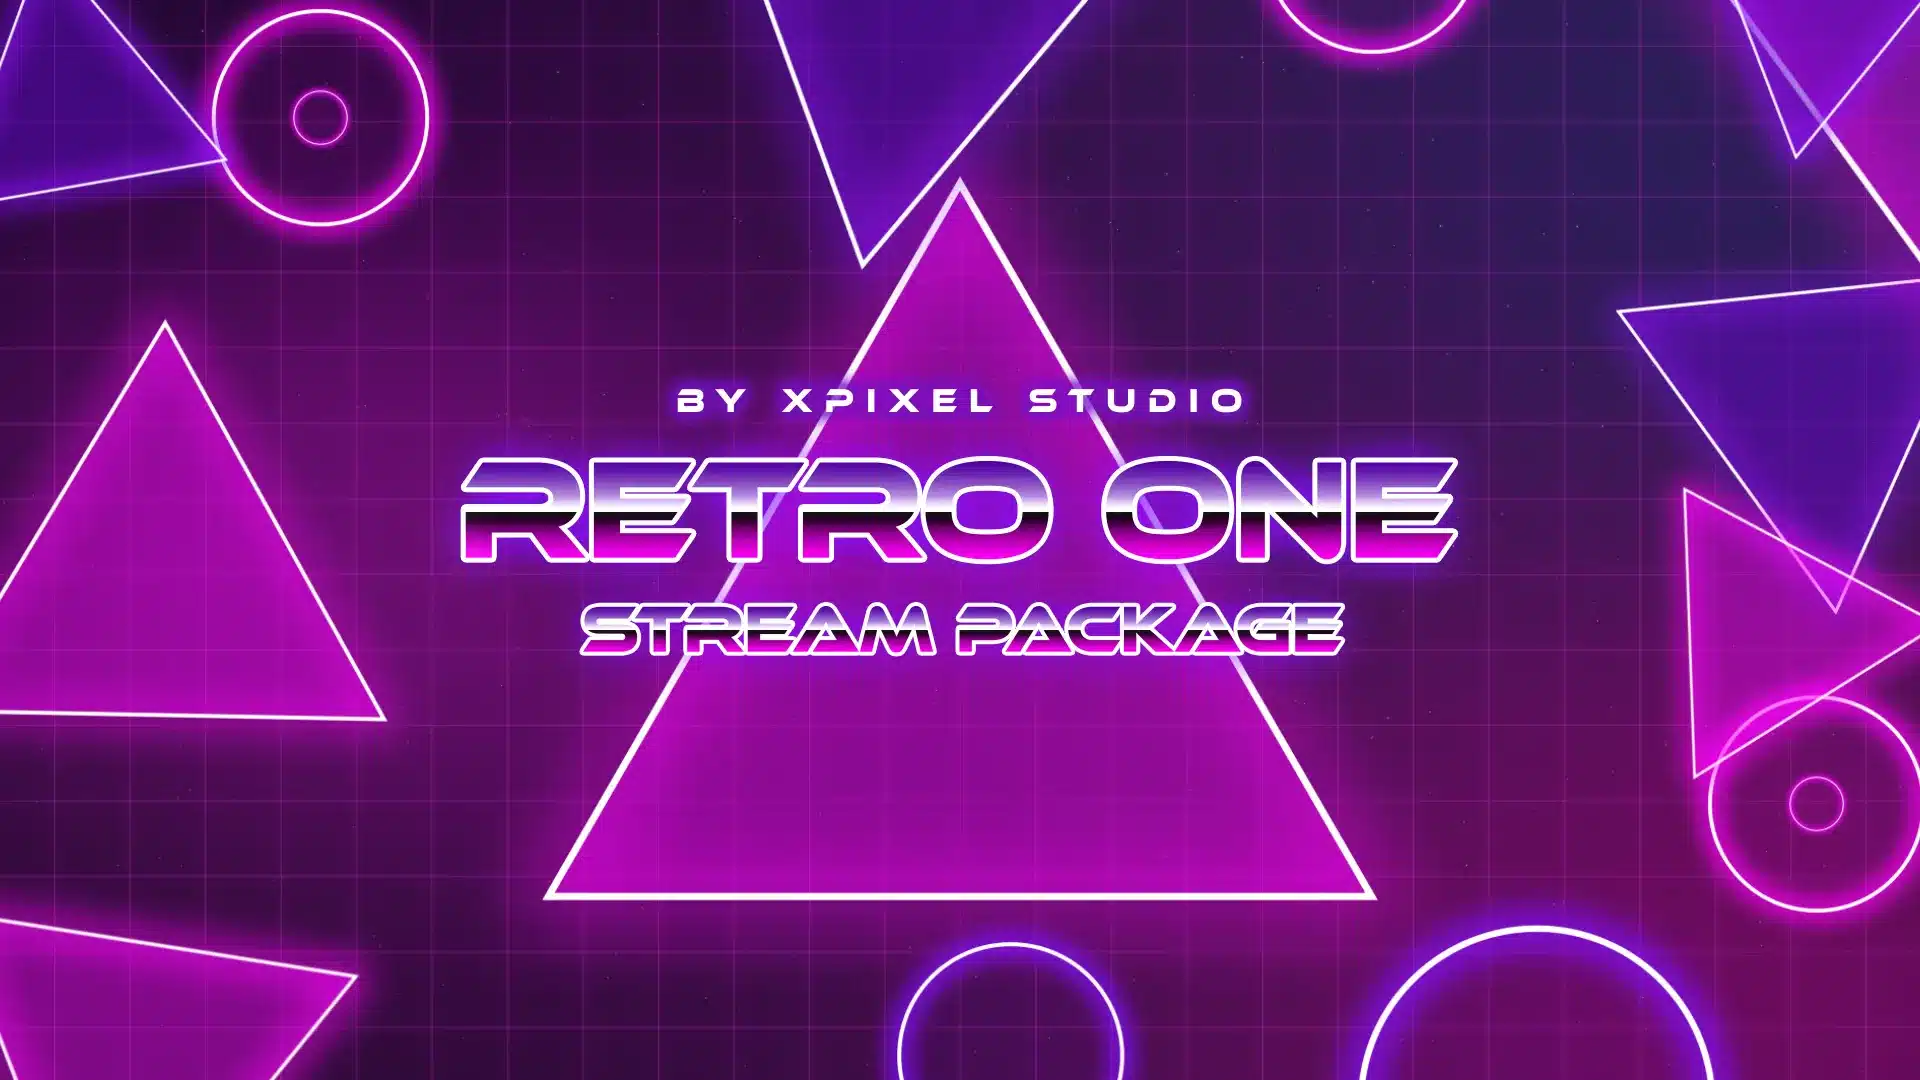
Using a professional package like the Retro One Stream Package can provide high-quality borders and camera frames that look great in 1080p or 4K without cluttering the screen with unnecessary noise. A clean, thematic look helps brand your content across platforms. If you prefer something edgier for high-energy gaming recordings, the Red Skull Stream Package offers high-contrast elements that pop beautifully even after YouTube’s compression.
For a detailed walkthrough on getting these graphics running smoothly, refer to our Step-by-Step Guide: Installing Stream Overlays on OBS and Streamlabs. Properly installed assets ensure you don’t drop frames during recording.
5. Future-Proofing with AV1
If you have upgraded your GPU recently (NVIDIA RTX 40-series or AMD Radeon RX 7000 series), you have access to the AV1 encoder. AV1 is the codec of the future. It is royalty-free and roughly 40% more efficient than the standard H.264.
What does this mean for you? It means you can record at the same quality as H.264 but with significantly smaller file sizes, or record at much higher quality using the same amount of space. YouTube now supports AV1 uploads, meaning your VODs will look crisper than ever before because the source file you upload is of superior quality.
If your hardware supports it, switch your Video Encoder in the Recording tab to NVIDIA NVENC AV1 or AMD HW AV1. If you are on older hardware, NVENC H.264 is still the industry standard and works perfectly fine, but AV1 is the strategy for those looking to stay ahead of the curve in 2025.
6. Managing System Resources
Recording high-quality video is resource-intensive. If your GPU is maxed out running a game like Cyberpunk 2077 or Call of Duty, OBS might struggle to render frames for the recording, resulting in a choppy video file (even if the game felt smooth to play).
Run OBS as Administrator
This is a simple but critical tip. Always run OBS Studio as an Administrator. This tells Windows to prioritize OBS over other background tasks and, crucially, to reserve enough GPU resources to composite the scene before the game eats them all up. This prevents “Rendering Lag.”
Cap Your Frame Rate
If you are playing a game that runs at 200 FPS but you are recording at 60 FPS, you are wasting GPU power that OBS could use. Cap your in-game frame rate to a multiple of 60 (like 120 or 144) or lock it to your monitor’s refresh rate. This leaves breathing room for the encoder to do its job without skipping frames.
7. Organization and Workflow
When you start recording consistently, you will generate massive amounts of data. A “Must-Know” strategy for 2025 is automated file management. In OBS Settings under Advanced > Recording, you can customize the Filename Formatting.
Don’t just stick with the default date string. Use formatting like %CCYY-%MM-%DD %hh-%mm-%ss - Recording. This ensures your files sort chronologically in your folder. Furthermore, ensure you are recording to a separate drive from your game installation if possible. Reading game textures and writing video files to the same SSD can cause I/O bottlenecks, leading to stutters.
FAQ: OBS Recording Strategies
What is the best bitrate for 1080p 60fps recording?
For recording, do not use a fixed bitrate (CBR). Use CQP (Constant Quantization Parameter) with a level between 18 and 22. This adjusts the bitrate dynamically based on the complexity of the scene, ensuring consistent quality without wasting space.
Can I record and stream at the same time?
Yes, this is standard practice. However, it requires more GPU power. Ensure you use different settings for each: use CBR for the stream (to keep Twitch happy) and CQP for the recording (for quality).
Why does my recording look washed out?
This is often a Color Range mismatch. Go to Settings > Advanced > Video and ensure “Color Range” is set to Limited (standard for web video) or Full (if you know your editing workflow supports it). Also, check that you aren’t double-applying HDR tone mapping.
What is the best recording format for editing?
MKV is the safest for recording, but MP4 is the most compatible for editing. Use the “Automatically remux to MP4” feature in OBS to get the safety of MKV and the compatibility of MP4.
How do I separate my Discord audio from the game?
You need to use the “Application Audio Capture” source (beta in newer OBS versions) or split your audio using plugins like Win-Capture-Audio. Then, assign them to different tracks in the Advanced Audio Properties window.
Mastering your obs recording setup is the single highest-ROI activity you can do for your content career in 2025. It bridges the gap between a fleeting live moment and a permanent, high-quality video asset that can earn views for years to come. By switching to CQP, protecting your files with MKV, and splitting your audio tracks, you are giving yourself the professional edge that separates hobbyists from creators.
For the definitive technical documentation on every single recording parameter available, you can always consult the official OBS Project Recording Guide. It is an invaluable resource for troubleshooting specific encoder errors.
Now that your technical backend is flawless, make sure your visual frontend matches that quality. A crisp recording of a messy screen won’t retain viewers. Upgrade your visual identity today with the Pastel Chill Desk Stream Pack—perfect for creators who want a clean, aesthetic vibe that looks just as good on a YouTube VOD as it does on a Twitch livestream.
Our Products