Gear & Tools
Essential Microphone Tips: 5 Secrets Every Streamer Should Know
If your stream looks good but sounds bad, viewers usually leave faster than most creators expect.
That is why microphone tips matter so much.
A lot of streamers spend time improving overlays, lighting, camera setup, and branding, but still lose credibility because their audio sounds thin, noisy, distant, or inconsistent. Viewers will often tolerate average visuals for a while. Poor sound is much harder to forgive.
At Xpixel Studio, one pattern shows up again and again: many streamers think they need a more expensive microphone, when the real problem is usually setup, placement, room noise, or mic technique. Some creators already have enough gear to sound good, but their audio still works against them because the workflow around the microphone is weak.
If you want stronger audio, focus on the fundamentals first: the right microphone for your room, better placement, cleaner levels, smarter noise control, and a repeatable workflow.
That is why this guide focuses on the improvements that matter most in practice.
These are the 5 essential microphone tips that help streamers sound clearer, more professional, and more comfortable to listen to over time.
Why Good Audio Matters More Than Many Streamers Realize
Your microphone is one of the most important parts of the viewer experience.
Good audio helps you:
- Sound more professional
- Make your stream easier to listen to
- Keep viewers watching longer
- Reduce distraction and fatigue
- Build more trust from the first few minutes
- Make your overall presentation feel more polished
In other words, audio is not separate from stream quality. It is part of it.
A cleaner mic setup does not only improve clarity. It also strengthens how people perceive your entire channel. A stream with good sound usually feels more intentional, more reliable, and easier to return to.
The 5 Essential Microphone Tips for Streamers
1. Choose the Right Microphone for Your Room, Voice, and Setup
Not every microphone works well for every streamer.
One of the most important microphone tips is choosing a mic that fits your actual environment, not just the most popular one online.
In most cases:
- Dynamic microphones are better for untreated or noisy rooms because they reject more background noise.
- Condenser microphones capture more detail, but they also pick up more room sound, keyboard noise, and environmental distractions.
That means a cheaper dynamic microphone in a normal room can easily sound better than a more expensive condenser mic used in a noisy space.
You should also think about connection type:
- USB microphones are easier for beginners and faster to set up.
- XLR microphones offer more control, but require an audio interface or mixer.
The right choice depends on:
- Your room noise
- Your budget
- Your technical comfort level
- How much control you actually want
If you are planning your full setup, this streaming equipment guide can help you compare microphones, camera gear, lighting, and other essential tools before you upgrade your stream.
A lot of streamers assume “higher-end” automatically means “better.” In practice, a well-used microphone that fits your space usually outperforms a poorly matched upgrade.
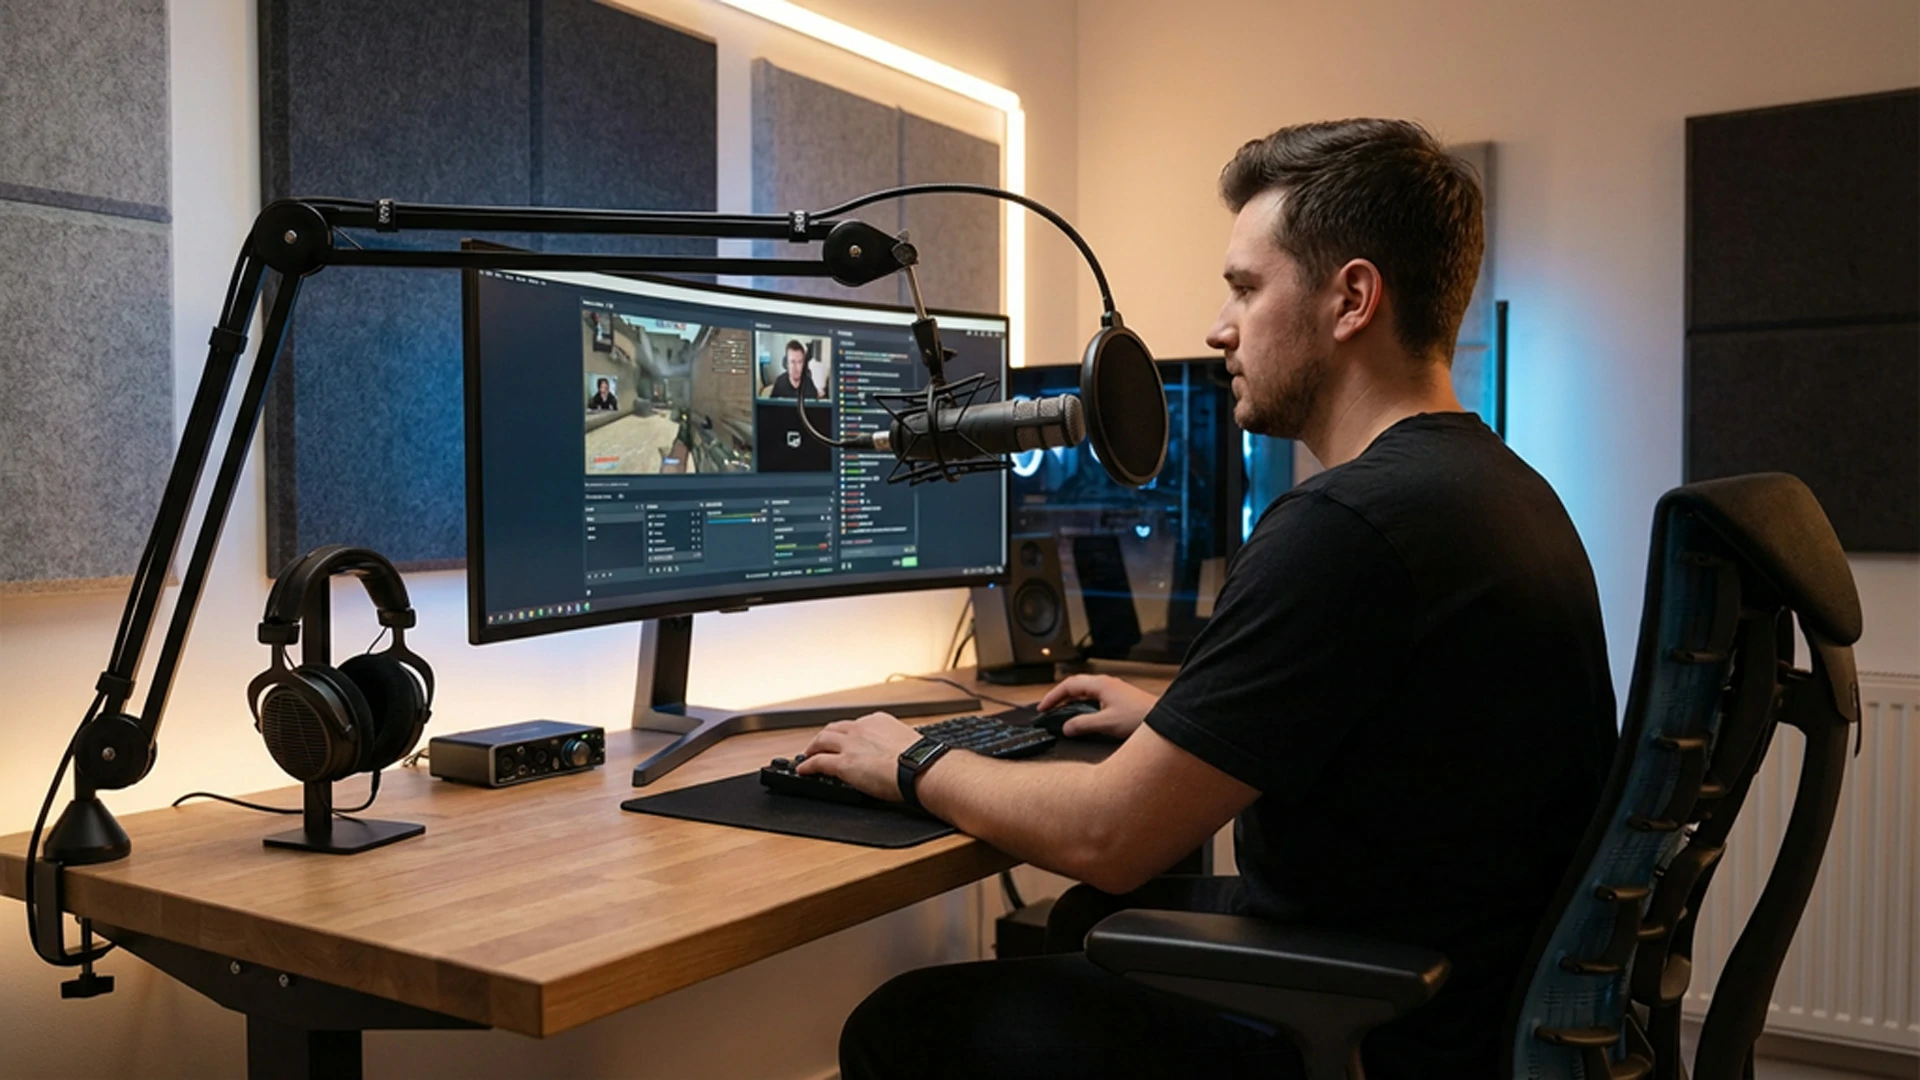
2. Fix Your Microphone Placement Before You Buy Anything Else
Placement is one of the most overlooked microphone tips, but it changes audio quality fast.
Even a strong microphone can sound weak if it is placed badly.
A good starting point for most streamers is:
- 6 to 12 inches from your mouth
- Angled slightly off-center
- Positioned so it captures your voice clearly without blocking your camera too much
That small angle matters because it helps reduce:
- Plosives
- Harsh breath sounds
- Mouth noise
- Overly direct air hits on the mic capsule
If the microphone is too far away, your voice sounds thin and roomy. If it is too close, you may get distortion, exaggerated bass, and more breathing noise.
This is also where accessories matter.
Useful setup additions include:
- A boom arm
- A solid desk stand
- A pop filter
- A foam windscreen
- Shock mount support if needed
A boom arm is especially helpful because it keeps your mic steady and lets you position it correctly without cluttering the desk. That is good for both audio quality and stream presentation.
A cleaner mic position also helps your on-camera setup feel more organized, which matters when you are trying to create a polished overall channel experience.
3. Improve Your Mic Technique and Input Levels
Good audio is not only about the microphone. It is also about how you use it.
A lot of streamers unknowingly create audio problems by:
- Speaking too far from the mic
- Changing distance constantly
- Pointing the mic incorrectly
- Setting gain too high
- Speaking too loudly into the capsule
Better microphone technique usually means:
- Speaking consistently at a similar distance
- Aiming your voice toward the mic without “eating” it
- Angling the microphone slightly to reduce harsh plosives
- Checking your speaking volume instead of relying only on filters
- Monitoring your sound through headphones when possible
Input level also matters.
As a general rule, you want your voice to sit strong and clear without clipping. If the signal peaks too hard, the result sounds distorted and unpleasant. If it is too quiet, you end up overcompensating with gain and pulling more room noise into the mix.
For many streamers, the best habit is simple: test your normal speaking voice, your louder reaction voice, and your quieter moments before going live.
That gives you a more realistic audio level than only testing one sentence at one volume.
4. Control Room Noise and Use Filters Wisely
Your room is part of your microphone setup whether you want it to be or not.
Hard surfaces, echo, keyboard noise, fans, traffic, and bare walls all shape how your microphone sounds. That is why one of the most effective microphone tips is learning to control your environment before trying to fix everything in software.
A few practical improvements can make a real difference:
- Curtains
- Rugs or carpet
- Soft furnishings
- Foam panels if needed
- Less reflective surfaces near your setup
- Closing windows or reducing background noise sources
You do not need to turn your room into a full studio. You just need to reduce the worst reflections and distractions.
After that, software filters can help.
Useful filters in OBS or similar streaming software often include:
- Noise suppression
- Noise gate
- Compressor
- Limiter
- Gain
- Equalization when needed
These can improve your stream significantly, but the key is balance.
A common mistake is overprocessing the microphone until it sounds unnatural, thin, or heavily gated. Good filters should support clarity, not make your voice feel robotic.
If you want an official reference for filter options, the OBS Filters Guide is useful for understanding tools like noise suppression, noise gate, limiter, and gain control.
If you are still refining your stream audio workflow, this OBS Studio setup guide can also help you organize filters, sources, and scene settings more cleanly.
This is one area where streamer workflow connects naturally to the Xpixel ecosystem. A polished stream is not only about overlays and visuals. It is also about having clean audio that matches the same level of professionalism as your layout, alerts, and overall presentation.
5. Build a Repeatable Audio Workflow and Maintain Your Microphone
The best microphone setup is not just one that sounds good once. It is one you can repeat consistently.
That means creating a simple workflow for:
- Pre-stream audio checks
- Gain consistency
- Filter settings
- Mute habits
- Monitoring
- Mic care and storage
A lot of streamers lose audio quality because they treat sound like a last-minute detail. They go live without checking levels, forget to monitor background noise, or let the mic setup drift over time.
A better workflow usually includes:
- Doing a short mic test before every stream
- Checking that filters are still active and working properly
- Listening for room noise or unexpected interference
- Muting when you cough, step away, or handle something noisy
- Cleaning the microphone gently and regularly
- Storing it properly if it is not always mounted
If you use real-time headphone monitoring, that can also help you catch:
- Hum
- Static
- Plosives
- Clipping
- Sudden background noise
Small habits like this protect your stream from avoidable mistakes.
And from a viewer perspective, that consistency matters. When your stream sounds stable every time, the whole channel feels more reliable.
Clean audio works even better when it supports the same level of polish as your stream branding with consistent graphics.
Common Microphone Mistakes Streamers Make
Even a decent mic can sound bad when the setup is weak.
Using the Wrong Mic for the Room
A sensitive condenser in a noisy room often creates more problems than a well-placed dynamic microphone.
Putting the Mic Too Far Away
Distance adds room sound and reduces vocal clarity quickly.
Setting Gain Too High
This makes background noise and distortion much worse.
Ignoring Pop Filters and Windscreens
Small accessories can solve some of the most annoying audio problems.
Relying Only on Software Fixes
Noise suppression helps, but it cannot fully replace good placement and a better room setup.
Never Monitoring the Audio
If you never listen back, you may not realize how your stream actually sounds to viewers.
Treating Mic Setup Like a One-Time Task
Audio quality is easier to maintain when you build a repeatable process, not when you guess every stream.
Best Practices for Better Streaming Audio
If you want the fastest improvement, focus on these priorities first:
- Choose a microphone that fits your room
- Place it correctly before changing anything else
- Use a pop filter or windscreen
- Set cleaner gain and input levels
- Reduce room noise before overusing filters
- Test your mic before every stream
- Build a setup you can repeat consistently
These basics usually matter more than chasing expensive upgrades too early.
Final Thoughts
The best microphone tips are usually not the most complicated ones. They are the ones that make your audio clearer, more comfortable, and more repeatable.
A better microphone setup usually comes from:
- Choosing the right mic
- Improving placement
- Using better technique
- Reducing room noise
- Building a workflow you can trust
That is what helps streamers sound more professional over time.
If your stream already looks polished, better audio helps the rest of your presentation feel more complete. And if your visuals are still evolving, clean sound is still one of the fastest ways to improve how viewers experience your channel.
FAQ
What type of microphone is best for streamers?
The best microphone for streamers depends on the room and setup. Dynamic microphones usually work better in noisy or untreated spaces, while condenser microphones are better in quieter, more controlled environments.
How far should a microphone be from your mouth when streaming?
A good starting point is usually 6 to 12 inches from your mouth, angled slightly off-center to reduce plosives and breath noise.
Do I need a pop filter for streaming?
Yes, in many cases. A pop filter or foam windscreen helps reduce plosives and can make your voice sound cleaner and more professional.
Why does my stream microphone sound bad even with a good mic?
The issue is often not the microphone itself. Poor placement, too much room noise, high gain, weak technique, or missing filters can all hurt sound quality.
Should I use OBS filters on my microphone?
Yes, but in moderation. Filters like noise suppression, compressor, limiter, and gain can help, but they work best when the microphone placement and room setup are already decent.
Is a USB microphone good enough for streaming?
Yes. A good USB microphone can work very well for streamers, especially when paired with good placement, proper gain, and a clean room setup.
Our Products