Gear & Tools
Camera Setup for Streaming: Top 10 Secrets for Better Video Quality
A good camera can improve your stream, but a good camera setup for streaming is what actually makes you look professional.
A lot of streamers assume better video quality only comes from buying a more expensive webcam, mirrorless camera, or DSLR. In practice, that is rarely the full story. A strong stream camera setup depends just as much on lighting, placement, framing, settings, and how well the camera fits into your full streaming workflow.
At Xpixel Studio, one pattern shows up again and again: many creators already have enough gear to look good on stream, but they never get the best results because the setup is fighting against them. The image looks grainy, the colors shift constantly, the angle feels awkward, or the background makes everything look flat and cluttered.
That is why this guide focuses on the parts that actually make the biggest difference.
Why Camera Setup Matters for Streaming
Your camera is often one of the first things viewers notice when they land on your channel. Even if your gameplay, audio, or personality keeps people watching, your video presentation still shapes first impressions.
A better camera setup helps you:
- look more professional on stream
- reduce grain, blur, and poor exposure
- improve viewer trust and retention
- make your facecam easier to watch for longer sessions
- match your stream style more consistently
The goal is not to chase “cinematic” quality for the sake of it. The goal is to create a clean, flattering, reliable image that works well live.
The Top 10 Secrets for a Better Camera Setup for Streaming
1. Choose the Right Camera for Your Streaming Needs
Not every streamer needs the same type of camera.
A webcam is often enough if:
- you are just starting out
- you stream in a smaller space
- you want a simpler setup
- you need something plug-and-play
A mirrorless or DSLR camera makes more sense if:
- you want better low-light performance
- you want stronger background blur
- you care more about premium image quality
- you are ready for a more advanced setup
The mistake many creators make is assuming a bigger camera automatically solves everything. It does not. A well-lit webcam setup can easily look better than a poorly configured DSLR.
Start by matching the camera to your real needs, your room, and your workflow.
2. Lighting Matters More Than Most Cameras
If there is one upgrade that usually improves stream video the fastest, it is lighting.
Poor lighting forces your camera to raise ISO or use aggressive auto processing, which leads to:
- grain
- muddy colors
- weak contrast
- unflattering shadows
A simple three-point lighting approach works well for most streamers:
- Key light: your main light source, usually placed at a 45-degree angle
- Fill light: a softer light on the opposite side to reduce harsh shadows
- Back light: a light behind you that helps separate you from the background
You do not need a full studio to benefit from this. Even one decent key light plus better room lighting can improve your image dramatically.
For streaming, soft and even light usually works better than dramatic contrast.
3. Stop Relying on Full Auto Settings
Auto settings are convenient, but they often make live video look inconsistent.
A camera in full auto mode may:
- brighten and darken the image as you move
- shift white balance when your screen changes color
- overreact to background lighting
- create distracting pulsing exposure during the stream
If your camera allows it, take manual control of these settings:
- Exposure
- White balance
- ISO
- Shutter speed
- Focus mode
For most streaming setups, locking exposure and white balance makes a big difference. It keeps your image consistent and prevents distracting color or brightness shifts while live.
If you stream at 30 fps, a shutter speed around 1/60 is usually a good starting point. If you stream at 60 fps, many creators test around 1/125. Keep ISO as low as possible while maintaining good brightness.
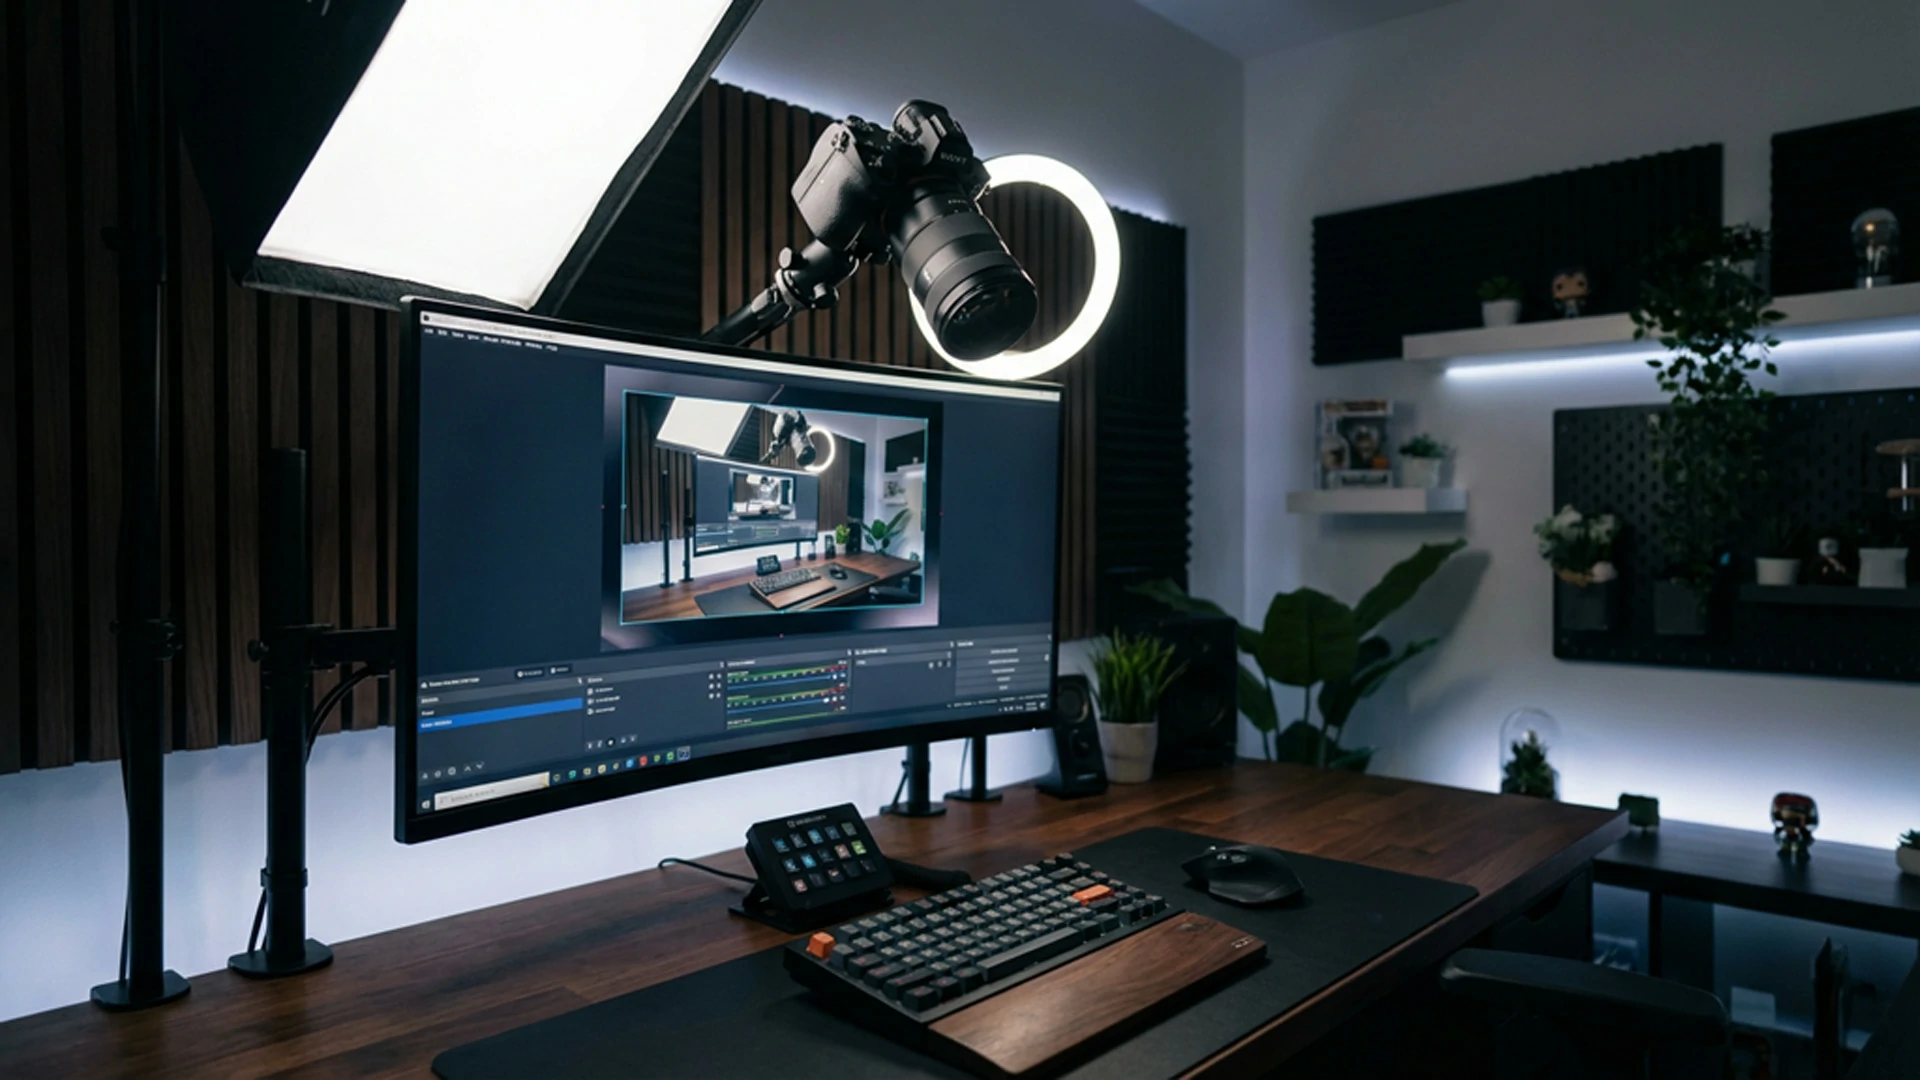
4. Place Your Camera at Eye Level on a Stable Mount
Camera angle affects professionalism more than people think.
A low camera angle from the desk often looks awkward and unflattering. A camera placed too high can feel unnatural and distant. The best default choice for most streamers is:
- camera at eye level
- or slightly above eye level
- angled only slightly downward
This feels more natural to viewers and usually looks more flattering.
Stability matters too. A shaky or slightly tilted camera lowers production quality immediately. Use:
- a solid webcam mount
- a monitor mount
- a desk arm
- a sturdy tripod
Avoid improvised setups that shift easily during long streams.
5. Improve Framing and Create Background Depth
A good stream camera setup is not only about image sharpness. It is also about composition.
For better framing:
- keep your eyes near the top third of the frame
- avoid too much empty headroom
- leave enough space around your shoulders
- make sure your face remains the visual focus
Then think about depth.
If you sit too close to the wall, your video can look flat. A little distance between you and the background helps the image feel more layered and more professional. If space allows, pull your desk slightly forward and use your lighting to create separation.
Also clean up the background. Viewers do not need a perfect room, but they do need a frame that does not feel distracting or chaotic.
6. Use a Clean Signal Path and Reliable Power
Many streamers focus on the camera body but ignore how the signal reaches the computer.
If you use a DSLR or mirrorless camera, a capture card often gives better results than a basic USB webcam mode. A clean HDMI feed usually provides better image quality and a more reliable signal path.
Also think about power and stability.
Nothing ruins a stream faster than:
- a camera battery dying mid-session
- a cable disconnecting
- a loose mount shifting the shot
- a laggy video signal causing sync issues
For longer streams, use:
- a dummy battery or AC adapter if supported
- reliable cables
- a proper capture card when needed
- stable USB or HDMI routing
A good streaming setup is not just about image quality. It is about staying dependable during long live sessions.
If you want a more reliable camera feed inside OBS, this OBS video capture guide is useful for understanding how webcams and capture cards are handled in your setup.
7. Match Your Resolution, Frame Rate, and Bitrate to Reality
A common mistake is trying to force the highest settings everywhere.
Just because your camera can output high resolution does not mean your stream will look best that way live. Your final image also depends on:
- streaming resolution
- frame rate
- bitrate
- internet stability
- platform limits
For many creators, a clean 1080p setup is more than enough. In some cases, 720p can even look better than a compressed or unstable 1080p stream.
A facecam that is sharp, well-lit, and stable matters more than chasing specs that your bitrate cannot support properly.
If your camera feed breaks apart when there is movement, your problem may not be the camera. It may be the stream settings.
8. Decide When to Use Autofocus and When to Lock Focus
Modern autofocus can be excellent, but it is not always the right choice for every stream.
Autofocus works well if:
- you move a lot on camera
- your camera has strong eye-tracking
- you frequently change distance from the lens
Manual focus can be better if:
- your autofocus hunts or pulses
- you sit in a fixed position
- you want complete consistency
- your camera keeps focusing on the microphone or background instead of your face
The best approach depends on your specific camera and stream style. If you usually stay in the same position, manual focus often creates a more stable viewing experience.
9. Fine-Tune Your Image Inside OBS or Your Streaming Software
Even a good camera feed often needs a little refinement inside OBS or your streaming software.
Useful adjustments may include:
- color correction
- contrast
- saturation
- exposure tweaks
- cropping
- resizing the facecam frame properly
The goal is not to over-edit the image. It is to make sure the final on-stream result looks balanced and clear.
At Xpixel Studio, this is one of the most overlooked parts of a stream camera setup. Many creators judge their camera based on raw preview quality, but the actual live result often improves a lot after small adjustments in OBS.
Also make sure your camera frame works well with your stream layout. A good facecam should fit naturally into the scene, not feel like an afterthought.
If you are still refining the software side of your stream, this OBS Studio setup guide can help you improve your scenes, sources, and overall stream layout.
10. Always Test Before Going Live
This is one of the simplest secrets, but it prevents a huge number of streaming problems.
Before a real stream:
- open your preview
- check framing
- confirm lighting consistency
- test focus
- review color balance
- check audio and video sync
- make sure your camera still looks good after scene changes
A setup that looked fine yesterday may look different today because of room lighting, monitor brightness, cable changes, or a bumped camera angle.
Quick testing saves you from going live with:
- blurry focus
- dead batteries
- bad exposure
- sync issues
- poor framing
The best camera setup for streaming is not just one that looks good once. It is one you can repeat reliably.
Common Camera Setup Mistakes Streamers Make
Even decent gear can produce weak results when the setup is off.
Some of the most common mistakes are:
Using Poor Lighting and Blaming the Camera
Lighting problems are often mistaken for camera quality problems.
Leaving Everything on Auto
Auto exposure and white balance create inconsistency that looks distracting live.
Putting the Camera Too Low
Desk-level angles often look less flattering and less professional.
Ignoring the Background
A cluttered or flat background can make the stream feel less polished.
Chasing Specs Instead of Workflow
A more expensive camera does not help if your mount, lighting, capture path, and bitrate are weak.
Not Testing Before Stream
A setup is only useful if it performs reliably every time you go live.
Best Practices for a More Professional Stream Camera Setup
If you want the fastest improvement, focus on these priorities first:
- improve lighting
- lock in your camera settings
- place the camera at eye level
- clean up framing and background
- make sure your signal path is stable
- test before every stream
These basics usually matter more than buying expensive new gear right away.
Final Thoughts
A better camera setup for streaming is not about making your stream look expensive. It is about making it look clear, intentional, and consistent.
The streamers who look best on camera usually are not just using better gear. They are using better lighting, better placement, better settings, and a more reliable workflow.
If you want stronger video quality on stream, start with the fundamentals:
- choose the right camera
- fix the lighting
- control your settings
- improve your framing
- test before going live
Those changes will usually do more for your stream than chasing another hardware upgrade.
A better camera setup is only one part of presentation. If you also want to make your stream look professional, your lighting, layout, and visual consistency should all work together.
FAQ
What Is the Best Camera Setup for Streaming?
The best camera setup for streaming depends on your budget, room, and content style. For most streamers, the biggest improvements come from better lighting, proper camera placement, and manual settings rather than just buying a more expensive camera.
Is a Webcam Good Enough for Streaming?
Yes. A good webcam can look professional if it is paired with strong lighting and proper framing. Many streamers do not need a DSLR or mirrorless camera right away.
Why Does My Stream Camera Look Grainy?
A grainy image usually happens because there is not enough light, which forces the camera to raise ISO or use aggressive auto processing. Better lighting usually helps more than upgrading the camera itself.
Should I Use Autofocus for Streaming?
Autofocus can work well if your camera has reliable face or eye tracking. If your focus keeps hunting or shifting during the stream, manual focus is often the better option.
What Is the Best Camera Angle for Streaming?
For most creators, eye level or slightly above eye level is the most flattering and natural camera angle for streaming.
Do I Need a Capture Card for Streaming?
If you use a mirrorless camera or DSLR, a capture card often improves image quality and reliability compared with basic webcam modes. For many webcams, a capture card is not necessary.
Our Products