
Ready to elevate your streaming game in 2025? Whether you’re a seasoned streamer or just getting started, mastering your Streamlabs setup can make all the difference in your content, workflow, and audience engagement. This guide is packed with actionable insights, pro tips, and the latest best practices for setting up Streamlabs, so you can focus on what matters most—creating and connecting.
Streamlabs continues to lead the streaming software space, offering an intuitive interface, powerful customization, and deep integration with platforms like Twitch, YouTube, and Facebook Gaming. Its robust toolkit lets you manage overlays, alerts, chat, and even donations—all in one place. I’ve spent hundreds of hours tweaking, testing, and streaming with Streamlabs, and it’s still my go-to recommendation because it evolves with creators’ needs.
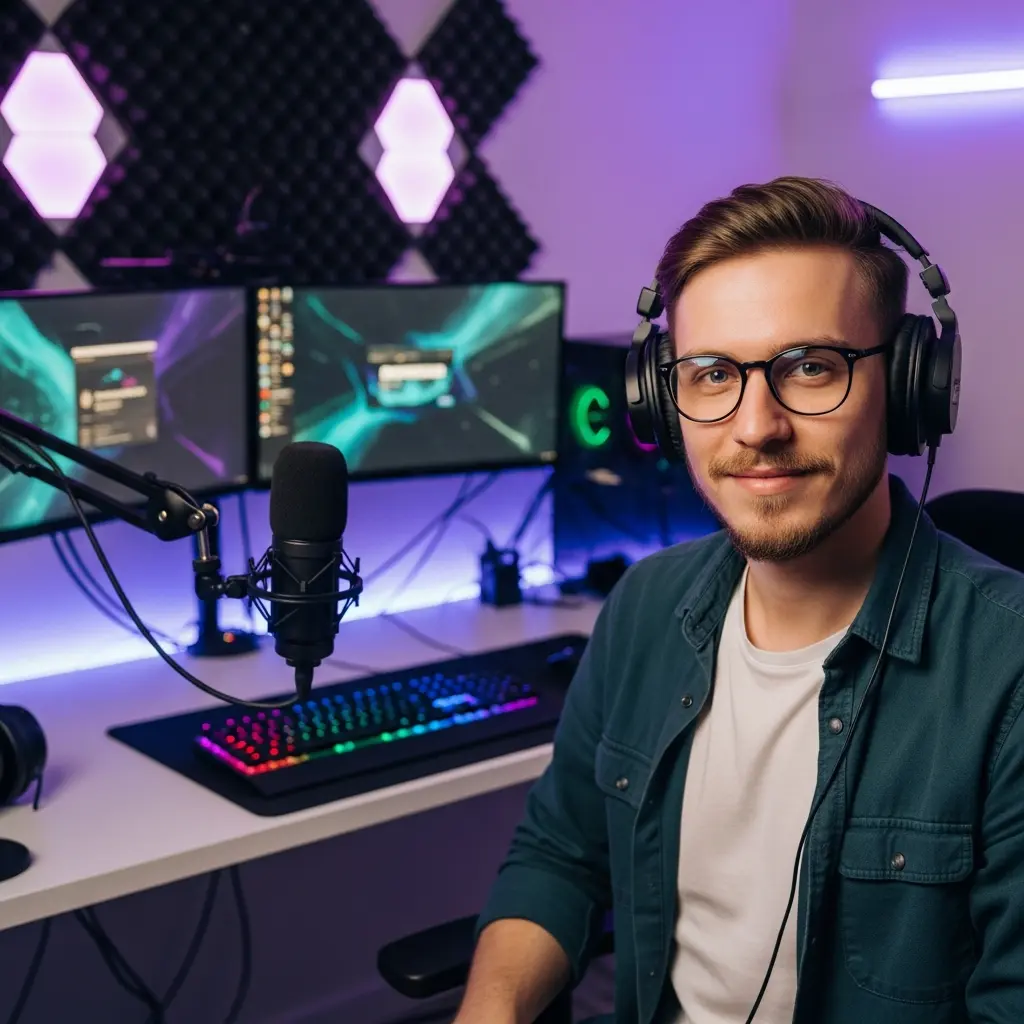
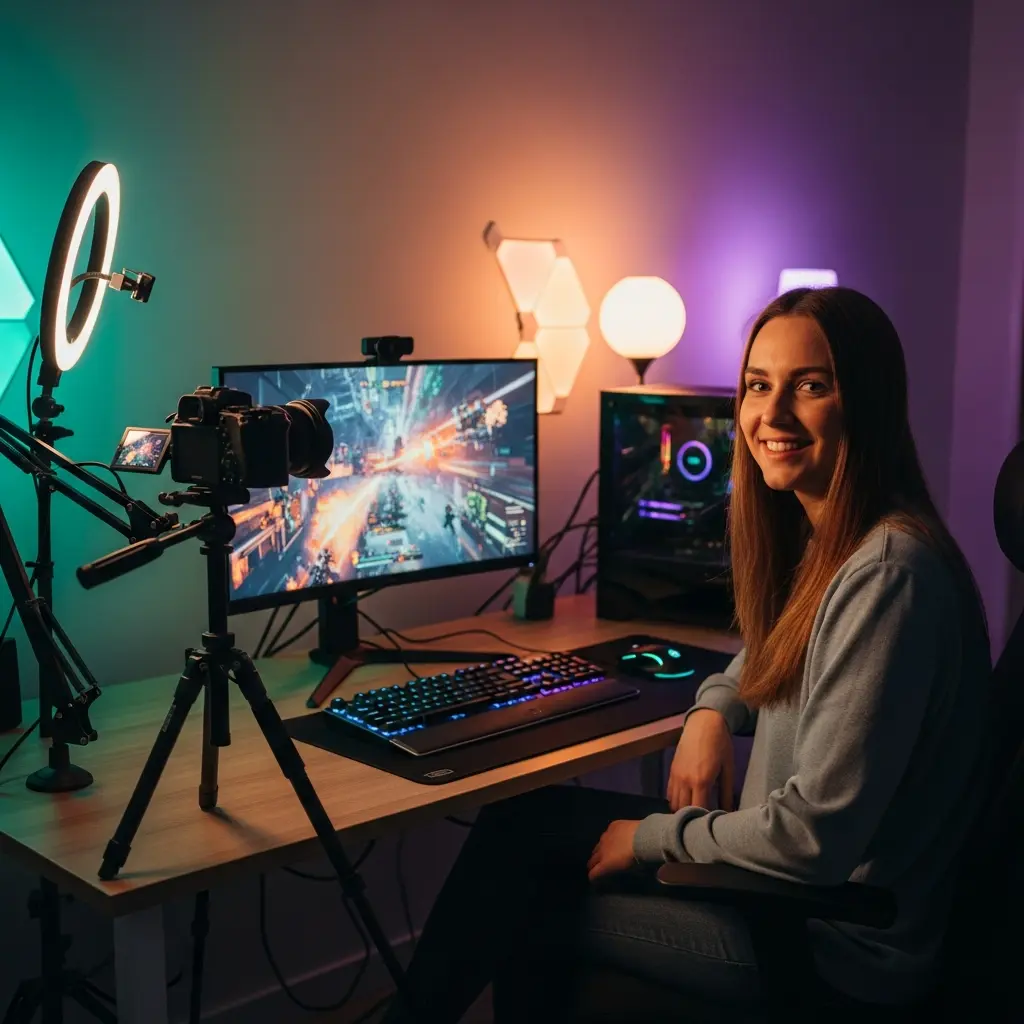
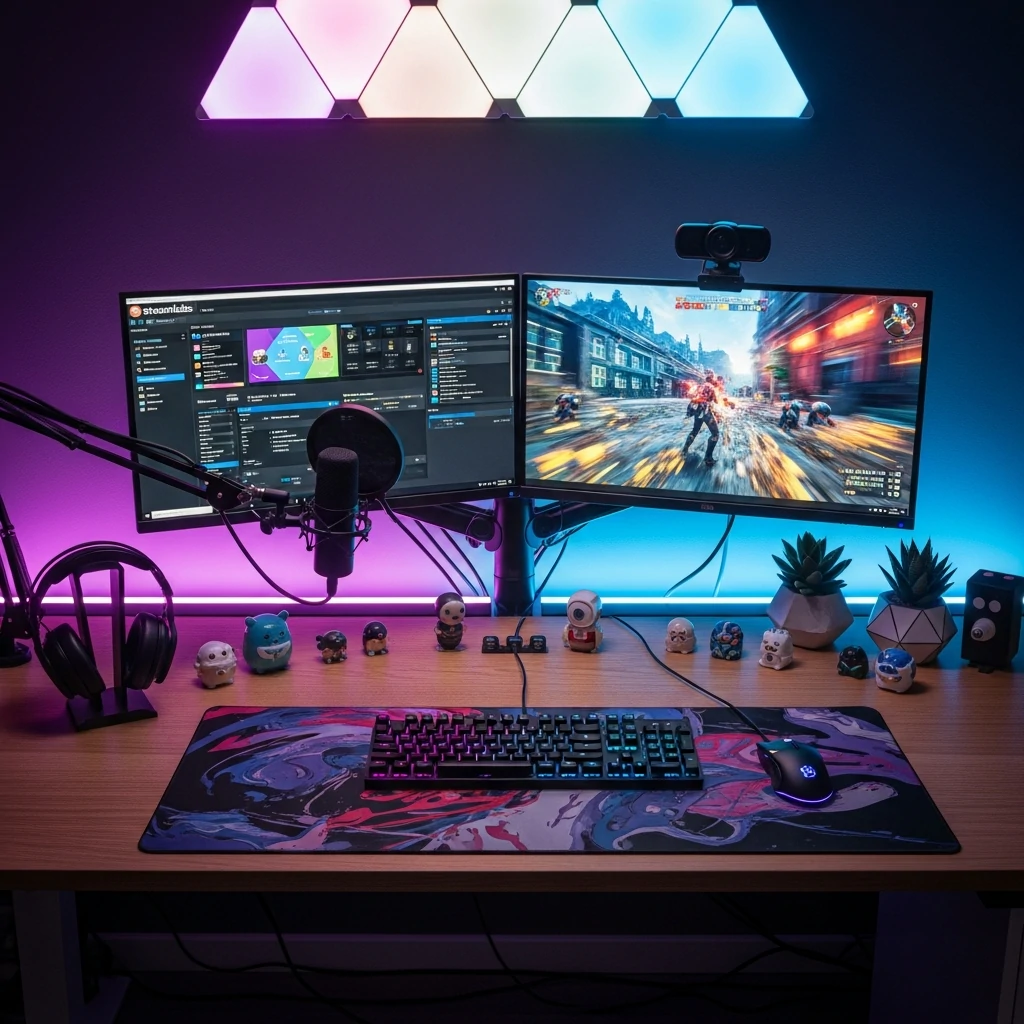
Before diving into software, let’s talk hardware. Your setup doesn’t have to break the bank, but investing in a few quality essentials pays off. At minimum, you’ll want:
Pro tip: Cable management and a comfortable chair can make those long streaming sessions much more enjoyable.
Download the latest version of Streamlabs from the official website and run the installer. Once installed, log in with your chosen platform (Twitch, YouTube, Facebook). The onboarding wizard helps you connect accounts, import scenes, and check your hardware. For further guidance, the Streamlabs Official Getting Started Guide is an authoritative resource.
Scenes are the backbone of your stream—think of them as layouts for different moments (gameplay, chatting, BRB). Sources are the building blocks: your webcam, game capture, overlays, browser windows, and alerts.
Streamlabs offers a huge library of free and premium overlays. Choose a theme that matches your vibe, or design your own in Photoshop or Canva. Upload custom graphics for alerts, transitions, and panels to reinforce your channel’s personality. Consistency in colors, fonts, and style helps viewers remember you.
One of the biggest pain points for new streamers is balancing quality with performance. Here’s how to dial in your settings:
Stable internet is non-negotiable. Aim for at least 8 Mbps upload speed for 1080p streams. If possible, use a wired Ethernet connection instead of Wi-Fi to minimize lag and drops.
Streamlabs plays well with Discord, Spotify, and other popular apps. Embed your music, share now-playing info, or display live chat from multiple platforms. Explore browser sources to bring in widgets from external services, like chat overlays or donation trackers.
Even the best setups can hit snags. Here’s how to fix the most common issues:
For persistent problems, the Streamlabs knowledge base and user forums are invaluable.
Keep Streamlabs updated, review your hardware drivers, and periodically refresh your overlays and scenes to keep things fresh and engaging. Listen to feedback from your viewers—they’ll often spot issues or suggest improvements you might miss.
While Streamlabs benefits from a strong CPU and GPU, you can stream at lower settings on mid-range hardware. Adjust your resolution and bitrate for the best balance of quality and performance.
Yes, Streamlabs offers a native Mac version, though some advanced features are Windows-only. Always check compatibility for plugins and overlays.
Upload your graphics via the sources panel, then drag and resize them as needed. For unique designs, tools like Canva or Photoshop work great.
Streamlabs is built on OBS Studio, adding a more user-friendly interface, integrated widgets, and cloud features. OBS Studio offers more raw customization but requires more manual setup.
Absolutely! Streamlabs’ multistream feature lets you broadcast to Twitch, YouTube, and Facebook simultaneously, though you may need a paid plan for some platforms.
With the right hardware, thoughtful scene setups, and a few pro tweaks, Streamlabs empowers you to deliver professional, engaging streams in 2025 and beyond. Don’t be afraid to experiment—every top creator started by trial and error. For more in-depth help, check out the official guides and community forums.
Ready to turn your passion into a growing channel? Start refining your Streamlabs setup today and let your creativity shine on every stream!
Receive an additional 30% discount for your first order by signing up through email!