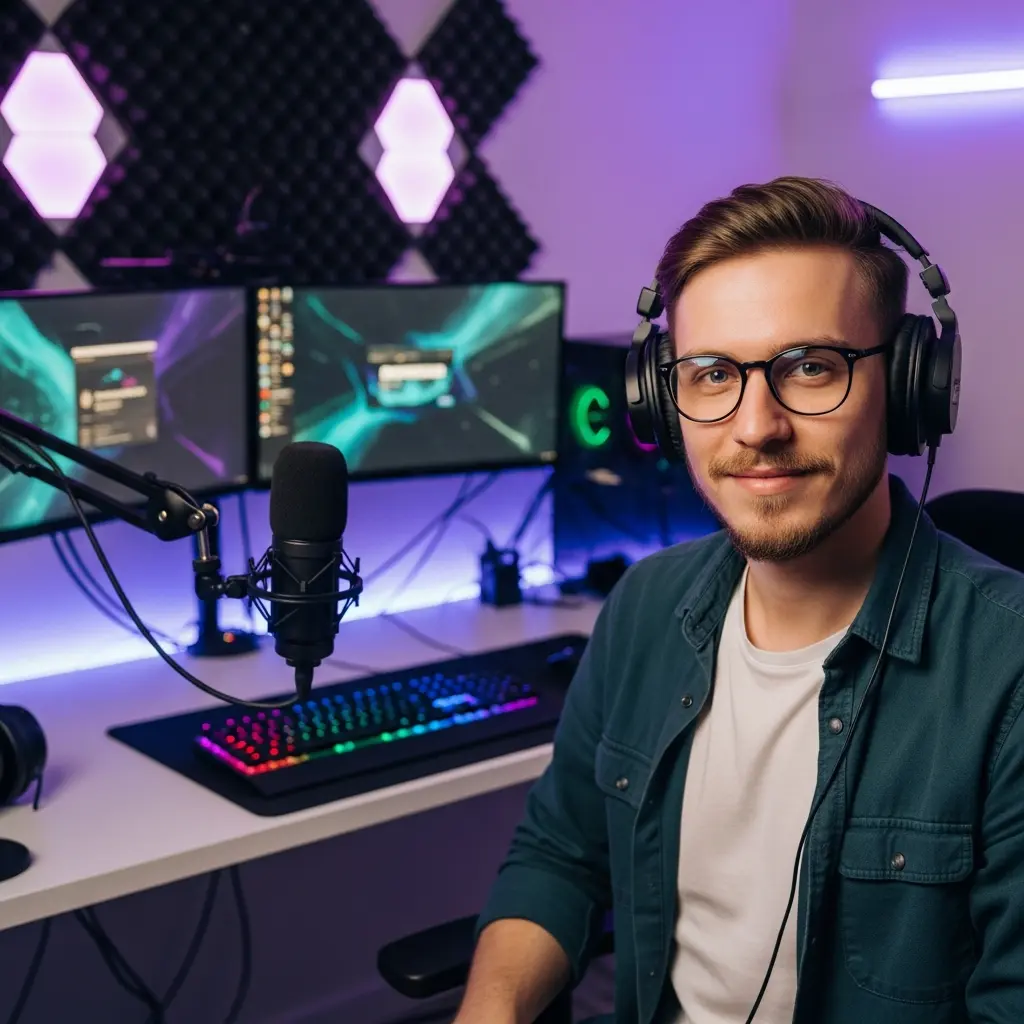

Live streaming has grown into a powerful medium for creators, gamers, and professionals who want to connect with audiences in real time. But standing out in today’s crowded digital landscape requires more than just quality content—you also need a polished, professional look. This is where stream overlays come in.
Whether you’re streaming on Twitch, YouTube, or Kick, overlays add a professional identity to your channel. They give structure to your broadcast, highlight your brand, and make your audience feel engaged from the moment they join. In this guide, we’ll walk you through a step-by-step process for installing stream overlays on OBS and Streamlabs, the two most popular streaming platforms.
By the end of this article, you’ll have the knowledge to set up overlays that make your stream visually impressive and ready to compete with the best.
Stream overlays are more than decorative graphics. They help define your brand and enhance the viewer experience. With overlays, you can:
Create consistency in your channel’s design.
Highlight important details like new followers, donations, and subscribers.
Add energy and personality to your broadcast.
Make your channel recognizable so viewers remember you.
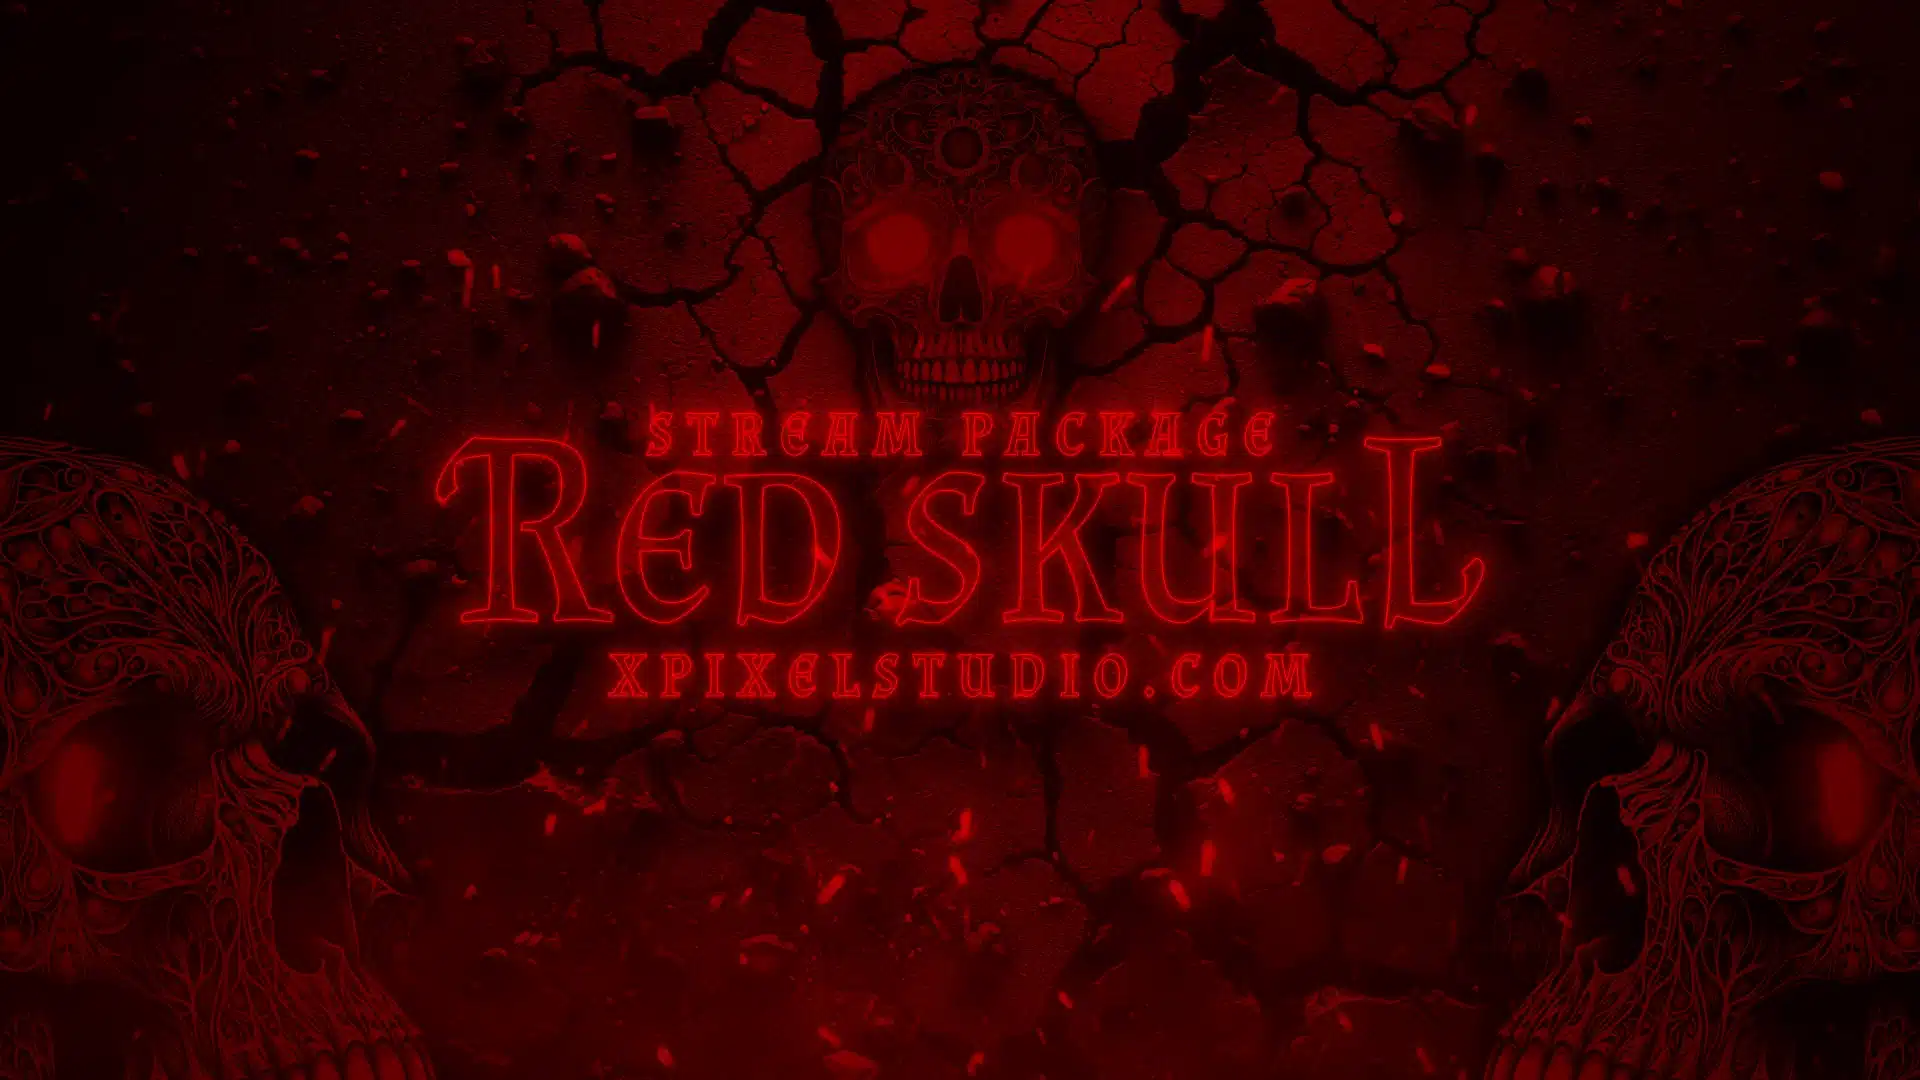
A strong overlay package from a provider like Xpixel Studio transforms your stream from amateur to professional instantly.
The first step is obtaining a high-quality overlay package. Reliable sources like Xpixel Studio provide ready-to-use overlays designed specifically for streamers.
When downloading a package, you’ll typically receive:
Overlay image files (PNG)
Animated overlays (WEBM or MP4)
Scene layouts
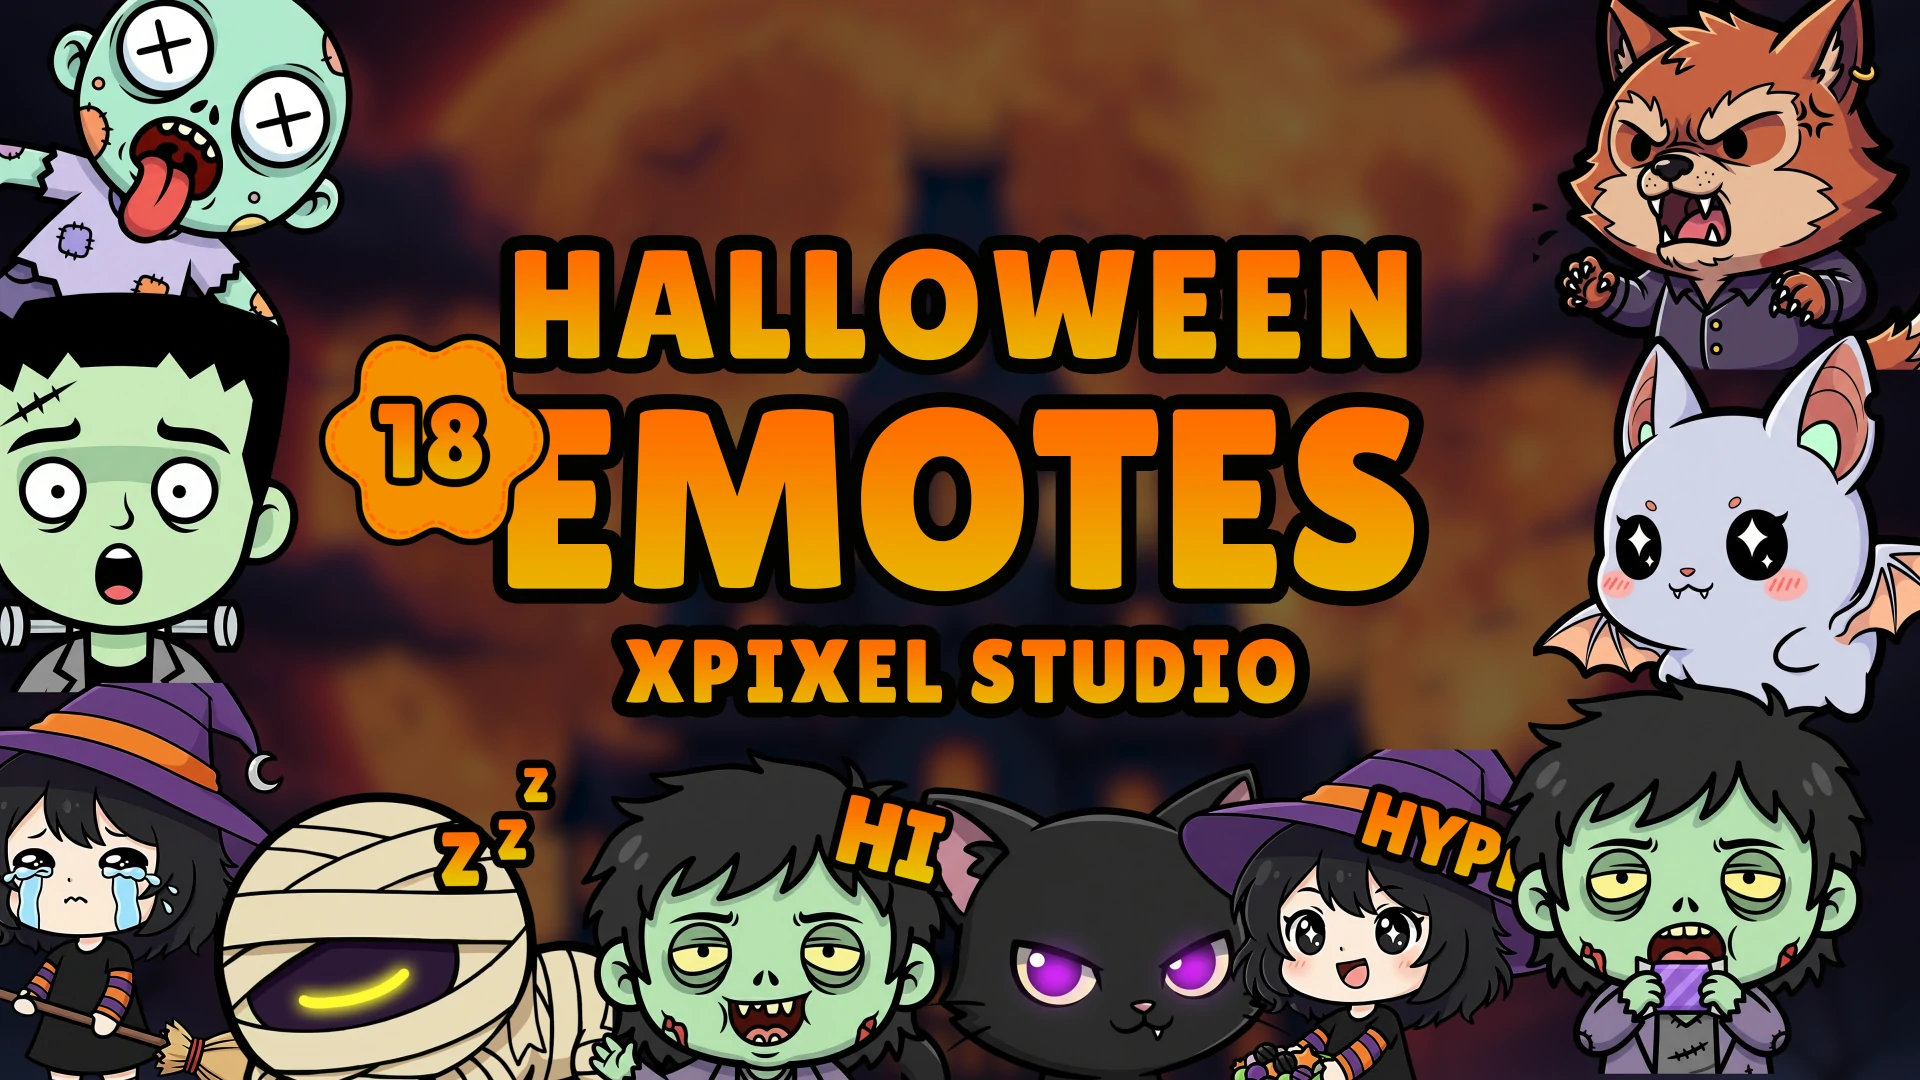
Alert graphics and animations
Transition effects
Keep these organized in a dedicated folder on your computer so installation is seamless.
OBS Studio is a widely used free, open-source broadcasting tool. Here’s how to add overlays step by step:
After downloading and installing OBS, launch the application.
Go to the Scenes panel, click the “+” button, and name your scene (e.g., “Main Stream Layout”).
In the Sources panel, click “+” and choose Image.
Locate your overlay PNG file from the package.
Adjust the size and position to match your desired layout.
In the Sources panel, click “+” and select Media Source.
Browse and add WEBM/MP4 files from the package.
Check the box for Loop so animations run continuously.
Make sure your webcam and game capture sources are layered below overlays to maintain a professional look.
Preview your scene to ensure overlays align correctly with your gameplay or camera.
Streamlabs is another powerful platform built on OBS, offering beginner-friendly features. Installing overlays here is slightly different but still straightforward.
Launch the Streamlabs application after installation.
Click the Scene Collection tab and create a new scene for your overlays.
Go to Sources, click the “+” button, and select Image.
Upload PNG overlays from your package.
Position them to frame your content.
Select Media Source from the Sources menu.
Upload animated overlay files (WEBM/MP4).
Set them to loop during your broadcast.
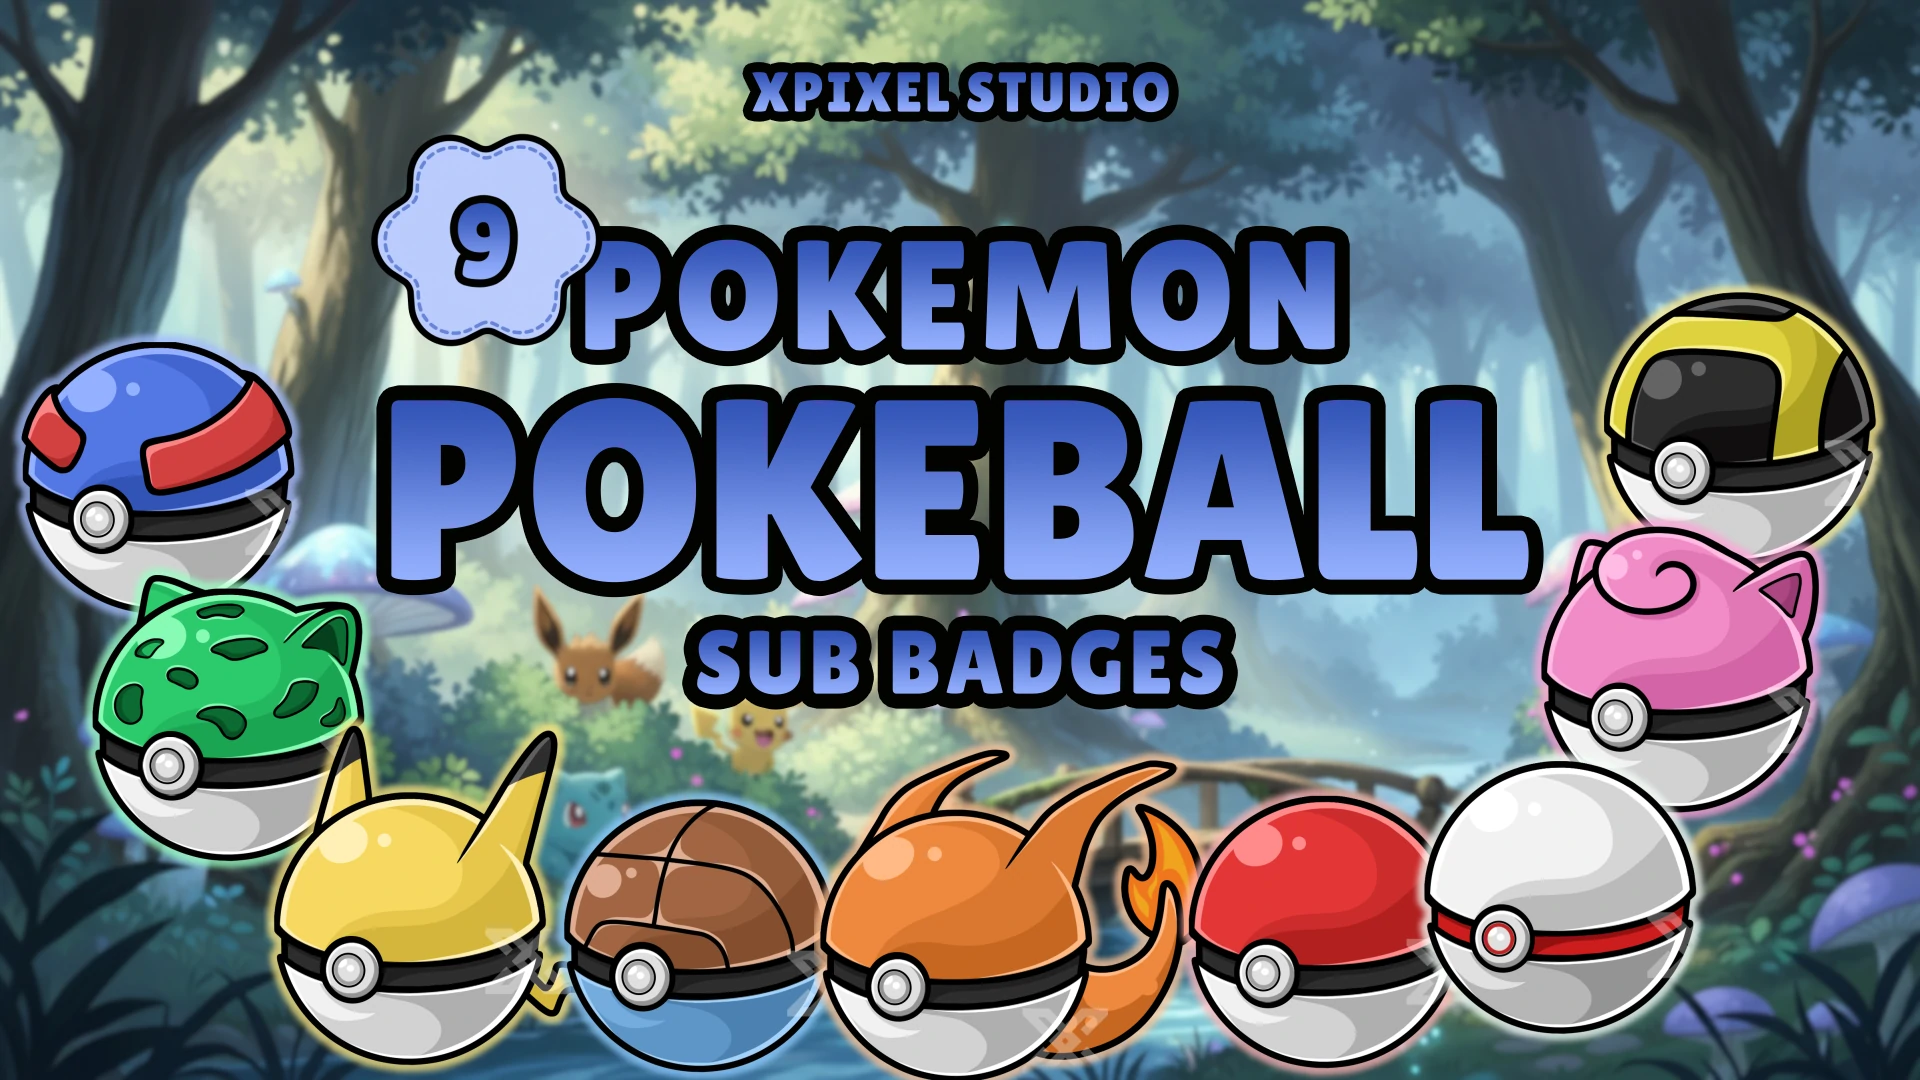
Many overlay packages from Xpixel Studio include custom alert graphics. To install them:
Navigate to Alert Box in Streamlabs.
Replace default images and sounds with your package’s files.
Test your stream to ensure overlays, alerts, and transitions appear smoothly.
Adding overlays is just the beginning—making them work effectively requires optimization.
Avoid clutter: Too many elements can overwhelm viewers.
Prioritize readability: Text should remain clear even during high-motion gameplay.
Balance placement: Alerts, webcam frames, and chat boxes should not block key content.
Maintain brand consistency: Use overlays that match your chosen theme, such as cyberpunk, retro, or minimalist.
Professional designs like those from Xpixel Studio are crafted to keep layouts balanced and visually appealing.
Before your first live broadcast with new overlays:
Run a private test stream to verify settings.
Check for dropped frames or lag when animations play.
Ensure audio and alerts sync correctly with visuals.
Get feedback from a friend or secondary account to confirm overlays look good from a viewer’s perspective.
Testing ensures your stream runs smoothly and prevents technical distractions during a live broadcast.
Once your overlays are installed, consider these advanced strategies to maximize their impact:
Use Hotkeys: Assign keys to switch scenes quickly.
Layer Smartly: Keep gameplay visible by placing overlays on top but reducing opacity where necessary.
Stay Flexible: Different games or formats may require separate scenes with adjusted overlay layouts.
Monitor Performance: Animated overlays may impact weaker PCs, so test CPU usage.
With these refinements, you can maintain both aesthetics and performance.
As The Verge highlights, modern streaming success often comes down to branding. Viewers are drawn not only to content but also to the presentation and identity behind it. Overlays are a crucial piece of this branding puzzle. They set the tone, reflect your personality, and make your channel memorable.
Not all overlays are created equal. Free versions often lack customization or quality, while poorly optimized graphics can cause technical problems.
By choosing Xpixel Studio, you get:
Professionally designed packages that fit Twitch, YouTube, and Kick.
Optimized graphics that maintain high performance.
Consistent branding across overlays, alerts, and panels.
Easy-to-install files that save time and frustration.
With overlays built for both OBS and Streamlabs, setup becomes effortless and the results look professional from day one.
Installing stream overlays is one of the most effective ways to elevate your channel’s identity. By following this step-by-step guide for OBS and Streamlabs, you can seamlessly integrate overlays that transform your stream into a polished broadcast.
From simple static graphics to dynamic animations, overlays play a vital role in branding, engagement, and professionalism. With high-quality packages from Xpixel Studio, you gain not just visuals but also a stronger channel identity.
In an industry where first impressions count, overlays ensure you look like a professional from the very first stream.
Receive an additional 30% discount for your first order by signing up through email!