Design & Branding
How to Set Up Twitch Emotes: Complete Support Guide for Streamers

How to Setup Twitch Emotes
If you already have your emote files ready, setting them up on Twitch is a quick process. This guide walks you through everything step by step, from preparing your files to uploading them, naming them correctly, and checking whether they are working in chat.
This article is written as a support guide, so it focuses on the actual setup process. If you purchased your emotes from Xpixel Studio, you can use the same steps below with the files included in your download.
Need a new emote pack for your channel? Browse our Twitch Emotes Collection.
Before You Start
Before uploading your emotes, make sure you have:
- access to your Twitch Creator Dashboard
- access to the Emotes section on your Twitch account
- your final upload-ready emote files
- the emote names or chat codes you want to use
- a clean folder with the exact files you want to upload
If you purchased an emote pack from Xpixel Studio, use the final PNG files included in your download, not preview images, thumbnails, or design source files.
Where to Upload Twitch Emotes
To manage your emotes, go to the Twitch Creator Dashboard.
From there:
- open Viewer Rewards
- click Emotes
- choose the relevant emote section available on your account
- upload your emotes into the available slots or library
If Twitch changes the dashboard layout slightly in the future, the emote management area is still usually found under the Creator Dashboard in the emote or viewer rewards section.
You can also check the official Twitch documentation here: Subscriber Emote Guide
Twitch Emote File Requirements
Before you upload anything, make sure your files are prepared correctly.
For standard static emotes, Twitch generally supports:
- PNG format
- square images
- transparent background
- auto-resize upload from a single square image
- manual upload if you want full control over each size
For the smoothest setup, use a clean square PNG with a transparent background.
If you want better control over sharpness, especially for detailed artwork, prepare separate files manually for small sizes instead of relying only on automatic resizing.
How to Set Up Twitch Emotes Step by Step
Open the Twitch Creator Dashboard
Log in to your Twitch account and open the Creator Dashboard.
In the left sidebar:
- click Viewer Rewards
- click Emotes
This is where you manage your channel emotes, upload new files, and review active or pending emotes.
Prepare Your Emote Files
Before uploading, double-check your files.
Use files that are:
- final versions only
- exported with a transparent background
- easy to identify by filename
- visually clear at a small size
Good examples of clean filenames:
ghost-love.pngcat-hype.pnggg-wave.png
Avoid uploading:
- screenshots
- mockup images
- preview collages
- layered source files
- compressed images with messy edges
If your pack includes multiple emotions or reactions, organize them in one folder before you upload so the process is faster.
Upload Your Emotes
Inside the emote section:
- click the upload button or available slot
- choose your PNG emote file
- wait for Twitch to generate the preview
- review how the emote looks after upload
- repeat the process for other emotes
If you are using auto-resize, Twitch will generate the smaller sizes automatically.
If you are using manual mode, upload the required image sizes individually so you can keep more control over sharpness and readability.
Name Your Emotes
After uploading, Twitch will ask you to assign an emote code.
This is the code your viewers will type in chat to use the emote.
Choose names that are:
- short
- easy to spell
- easy to remember
- consistent with your channel branding
Examples:
ghostLovecatHypeggWavecozyCry
A good emote code should feel natural in chat. Avoid codes that are too long, too similar to one another, or difficult to read quickly.
Save and Submit
Once your file and emote code are ready:
- click Save
- submit the emote if Twitch asks for confirmation
- wait for Twitch to process the upload
Depending on your account status, an emote may go live quickly or remain pending for review.
Do not rename or re-upload the same emote repeatedly unless something is clearly wrong. If you keep changing files while one is pending, you can create unnecessary confusion in your library.
Test Your Emotes in Chat
Once the emote becomes active:
- open your channel chat
- type the exact emote code
- confirm that the emote appears correctly
- test multiple emotes if you uploaded a full set
It is also a good idea to check whether your emotes still look clean in real chat conditions, especially during dark mode or when many messages appear quickly.
Common Twitch Emote Setup Issues
I Cannot Find the Emotes Menu
If you do not see the emote section:
- refresh the Creator Dashboard
- make sure you are logged into the correct account
- confirm your channel has access to monetization-related emote features
- check whether Twitch is rolling out the feature layout differently on your account
My Emote Upload Failed
If Twitch rejects the upload:
- make sure the file is PNG
- make sure the image is square
- make sure the background is transparent
- export the file again from the original design
- try uploading the final export instead of a preview image
My Emotes Look Blurry
Blurry emotes usually happen because the artwork is too detailed for small chat display.
To improve clarity:
- simplify tiny details
- increase contrast
- use thicker outlines
- avoid tiny text
- test the design at small size before final upload
If your emote still looks soft, create separate manual-size versions and upload them individually.
My Emote Is Still Pending
If the emote status stays pending:
- wait a little longer
- refresh the dashboard later
- avoid deleting and re-uploading too quickly
- check your Twitch notifications or email if needed
In many cases, this resolves on its own after Twitch finishes review.
My Emote Code Does Not Work
If the emote looks uploaded but does not work in chat:
- check the spelling carefully
- match capitalization exactly if needed
- confirm the emote is active, not pending
- refresh chat
- test again after a short wait
Best Practices for Better Twitch Emotes
A good emote is not only attractive. It also has to work well in real chat.
Use these best practices:
- keep the design easy to recognize instantly
- prioritize expression over tiny detail
- use strong silhouettes and clean edges
- keep your pack visually consistent
- choose reactions viewers will actually use during streams
- test readability before announcing your new emotes
The best-performing emotes are usually the ones viewers can understand in one quick glance.
Support Tips for Xpixel Studio Customers
If you purchased your emotes from Xpixel Studio, this setup process is easier if you follow a few simple steps:
- keep your original download untouched as a backup
- create a separate folder for upload-ready files
- use the final PNG files included in the package
- decide your emote codes before you start uploading
- upload the full set in one session if possible for consistency
If you need more help after purchase, visit our Support Page.
You can also explore more channel assets here: Shop Xpixel Studio.
Recommended Internal Resources
If you are also setting up the rest of your stream visuals, these guides may help:
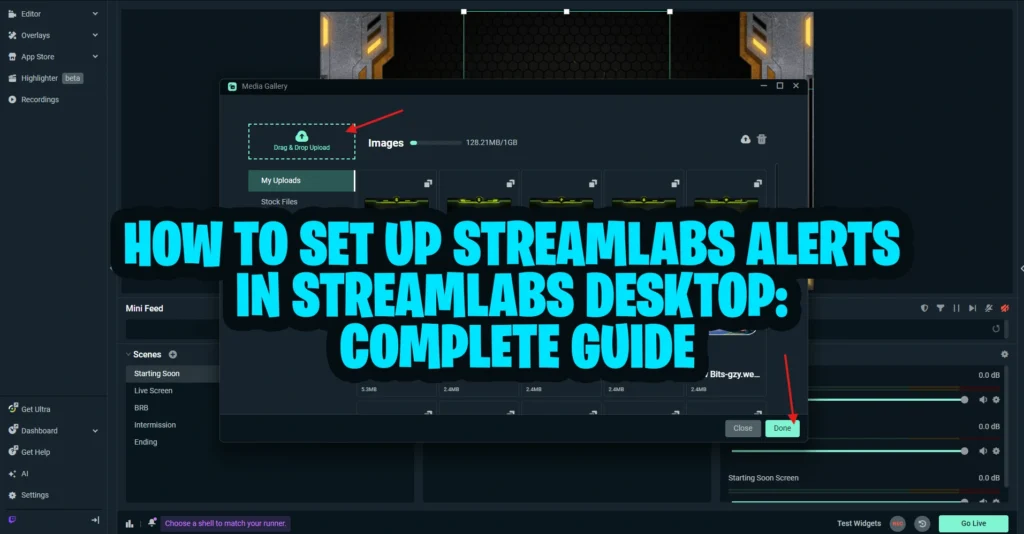
- How to Set Up Streamlabs Alerts in Streamlabs Desktop
- How to Add Overlays to Streamlabs Desktop
- Complete Manual Streamlabs Setup Guide for Overlays, Alerts, and Transitions
Common Upload Errors and Rejection Reasons
If your Twitch emote does not go live right away, do not panic. Most upload problems come from file issues, readability problems, naming mistakes, or policy review.
Here are the most common reasons an emote upload fails or gets rejected.
Wrong File Format or Background
One of the most common upload issues is using the wrong file type or uploading a file without proper transparency.
Check that your emote file is:
- a PNG file
- square
- exported cleanly
- saved with a transparent background
If you accidentally upload a JPG, screenshot, preview image, or a file with a solid background, Twitch may reject it or display it poorly.
Emote Looks Blurry or Unclear
An emote may upload successfully but still perform badly if it becomes unreadable at small sizes.
This usually happens when:
- the design has too much tiny detail
- outlines are too thin
- text is too small
- contrast is too weak
- the image depends on fine shading instead of a clear silhouette
If your emote looks soft, crowded, or hard to understand in chat, simplify it and export a cleaner version before uploading again.
File Version Confusion
Many setup mistakes happen because streamers upload the wrong file from their download folder.
For example, they may upload:
- a preview sheet
- a mockup image
- a thumbnail
- an unfinished draft
If you purchased your emotes from Xpixel Studio, always upload the final ready-to-use PNG files from your package, not the promotional preview images.
Emote Code Problems
Sometimes the file is fine, but the emote still does not work because the emote code was entered incorrectly.
Common code issues include:
- using a code that is too long
- making the code hard to type
- choosing names that are too similar
- using inconsistent naming across the pack
- forgetting the exact spelling when testing in chat
Keep emote codes short, simple, and easy for viewers to remember.
Pending Review
Not every emote becomes active instantly.
Depending on your account status, Twitch may place your emote in review before it goes live. That means your upload is not necessarily broken. It may simply still be pending.
If your emote is pending:
- wait before re-uploading
- check the status later
- avoid replacing the file repeatedly unless there is a real problem
Policy Violations
Twitch emotes are reviewed under Twitch’s emote rules, and those rules can be stricter than many streamers expect.
An emote may be rejected if it appears to violate Twitch policy.
To reduce the risk of rejection:
- avoid offensive or risky imagery
- avoid designs that could be interpreted as abusive, explicit, or unsafe
- avoid trying to imitate content that may conflict with platform rules
Best Way to Avoid Upload Problems
Before uploading, do this quick checklist:
- confirm the file is the final PNG
- confirm the background is transparent
- confirm the artwork still looks clear when small
- confirm your emote code is easy to type
- confirm the design does not create policy issues
Doing those checks first can save you a lot of frustration during setup.
FAQ: Twitch Emote Setup
How do I upload Twitch emotes?
Go to the Twitch Creator Dashboard, open Viewer Rewards, then click Emotes. From there, choose the upload area or available slot and follow the upload instructions.
Why is my Twitch emote still pending?
A pending status usually means Twitch is still reviewing the emote. This is normal for some accounts. If the file meets the requirements, wait for the review result before replacing it.
Why was my Twitch emote rejected?
The most common reasons are file problems, poor readability at small size, naming issues, policy concerns, or possible copyright and trademark conflicts.
What file should I use to upload my emote?
Use the final upload-ready PNG file with a transparent background. If you bought your emote pack from Xpixel Studio, use the final export files included in your download package.
Why does my emote look blurry in chat?
Your design may have too much detail for Twitch’s small display sizes. Simplify the artwork, increase contrast, and avoid tiny text or thin lines.
Can I re-upload an emote after fixing it?
Yes. If the file was wrong or the design was unclear, you can export a corrected version and upload it again. Just make sure you are replacing it with the final version, not another preview file.
Where can I get help if I still cannot set up my emotes?
If you are using Xpixel Studio assets and still need help, visit our Support Page. If you need a new pack, browse our Twitch Emotes Collection.
Conclusion
Setting up Twitch emotes is simple once your files are ready. The most important part is using clean upload-ready images, assigning clear emote codes, and checking everything in chat after your upload is complete.
If you purchased your emotes from Xpixel Studio, you already have the creative side handled. From here, it is just a matter of uploading the files correctly and making sure they look great live on your channel.
Need more emotes for your setup? Browse our Twitch Emotes Collection.
Our Products